How to Plant Potatoes at Home: 11 Things You Should Know

Are you wanting to grow potatoes at home? Do you want a huge, delicious harvest, but aren’t sure how to plant potatoes in a way that will achieve amazing results? No worries. I’ve got you covered! By following these 11 tips, you’ll be sure to have the best harvest possible! So here are the 11 things you should know before planting your potatoes at home…

Click here to subscribe

#1: Do NOT use Store-Bought Potatoes

I know it’s tempting to grab that bag of potatoes out of your cupboard and get planting. However, some of these potatoes have been chemically treated to keep them from sprouting (keeping them good to eat for longer). So to be sure that your potato is going to grow well (and to ensure that it’s disease-free), then make sure you purchase seed potatoes or potato slips to grow your potatoes. Or, as another option, you can also purchase potatoes from your local farmer’s market. These will be chemical-free!
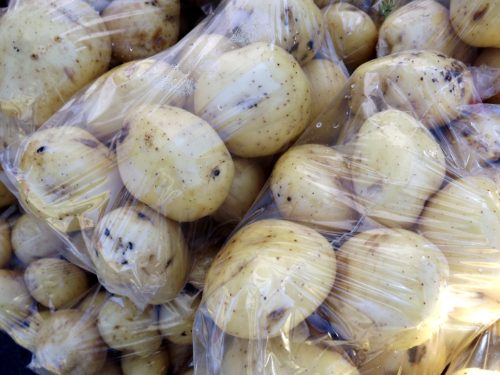
How to Plant Potatoes: Don't Use Store-Bought Potatoes

#2: You Don’t Need to Sprout your Potatoes

Sprouting your potatoes before planting isn’t necessary. If you plant your potatoes before they sprout, then they might take a few extra days before emerging from the soil. So, letting them sprout first or not, you’ll get a great potato harvest either way.

How to Plant Potatoes: Sprouting not Necessary

#3: You Can Start your Potatoes in Water

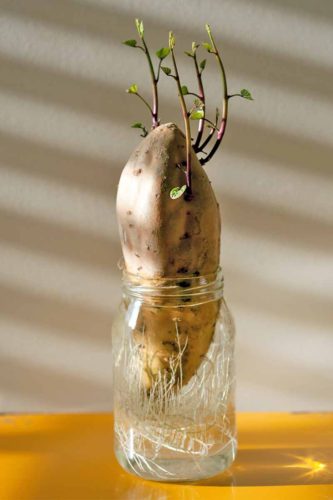
If you still choose to sprout your potatoes before planting (no judging here!), then you can place it straight into a sunny window to sprout. However, if you want to start sprouting and rooting your potato, then put it in water! Simply use toothpicks to hold it up in a cup, then fill it with enough water to cover half of the potato. Wait about a week and you should see signs of your potato growing! (Only be sure that if you cut your potato, give it several days to seal the cut before placing it in water.)

How to Plant Potatoes: Root in Water

#4: Don’t Plant the Entire Potato

If you’re growing large potatoes, then you don’t need to plant the entire potato. Instead, use a sharp, clean knife to cut it into sections that have 2-3 eyes each. (The eyes are the little knots in the potato.) After cutting it, leave the pieces out to dry for 48 hours before planting. This will give you many more plants, so keep this in mind when you are purchasing your seed potatoes!

How to Plant Potatoes: Cut into Smaller Sections

#5: You NEED Loose Soil

If you have hard, clay soil, then you will need to amend it, or bring in new soil to plant your potatoes. This is because potatoes are specialized roots that grow to store the plant’s nutrients. If your roots have a hard time pushing against hard, compact soil, then your potatoes will also have a hard time growing. This means that in hard soil, your overall harvest will be smaller. This is why it’s essential that you have loose soil.

For tips on how to loosen up any hard soil, watch the video below!
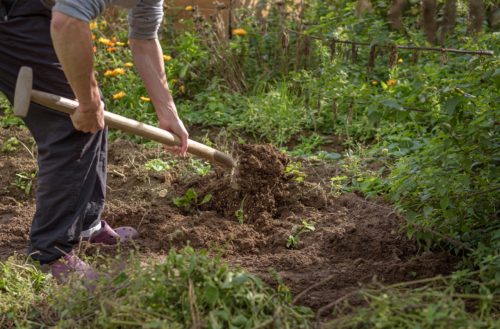
How to Plant Potatoes: You Need Loose Soil

#6: Plant Eyes Up

When placing your potato cuttings in the soil, place them so the eyes (or sprouts) are facing up. This gives your stems a straight shot up and out of the soil. If you place them down, this will make it harder for your potato’s shoots to emerge.
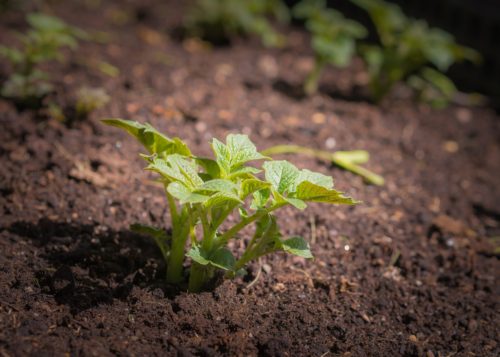
How to Plant Potatoes: Plant Eyes Up

#7: Mound the Plants

When your plant sprouts and grows around 6 inches (15 cm) tall, add more soil around the base of it to cover all but the top leaves. Then once it has grown to be about 6 inches (15 cm) above the soil once more, push up the soil around it again. This is called ‘mounding’. Mounding your potato plants will increase the amount of roots your plant grows, which in turn, will increase the amount of potatoes that your plant produces.

How to Plant Potatoes: Mound Plants

#8: Fertilize with a High P & K Fertilizer

P & K stand for Phosphorous and Potassium (or Potash on your fertilizer label). Make sure that your fertilizer has a good ratio of P and K, but has a lower N value. This will be something like 5-20-12, with a lower 1st number and a higher 2nd and 3rd number. Phosphorous encourages more root growth, while Potassium is good for the overall health of the plant. Do not fertilizer with a high Nitrogen fertilizer, or you might end up with a big, lush potato plants that have very few actual potatoes.

How to Plant Potatoes: Fertilize

#9: Harvest at the Right Time

The time to harvest your potatoes is around 2-3 weeks after it starts flowering. At this time the plant will also start falling over and looking wilted. Once this starts to happen, you know that your potatoes are ready to harvest!
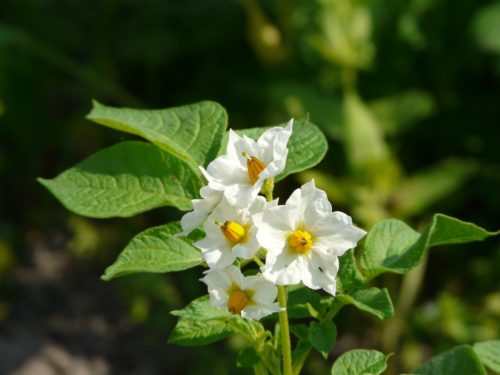
How to Plant Potatoes: Harvesting

#10: Soft-skinned Potatoes Don’t Store

If your potato’s skin is soft and can be brushed off with your finger, then you know that the potato hasn’t fully matured. Most likely you will have a harvest where some of them have matured, but some of them haven’t. Make sure that the soft-skinned potatoes don’t go into storage. They will need to be cooked and eaten within the next several days.
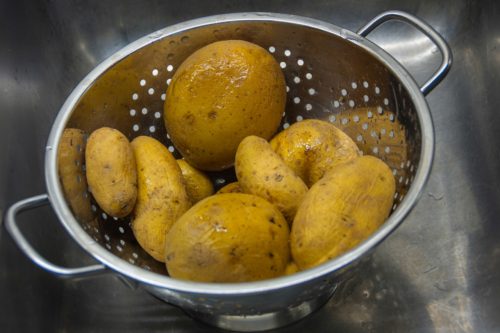
How to Plant Potatoes: Do Not Store Soft Potatoes

#11: Let Dry Before Storing

For all of your hard-skinned potatoes, you will need to let them air-dry in a cool, shaded location for several days. If stored too quickly, your potatoes might rot. Air-drying gets rid of any excess moisture that might still be in the plant.
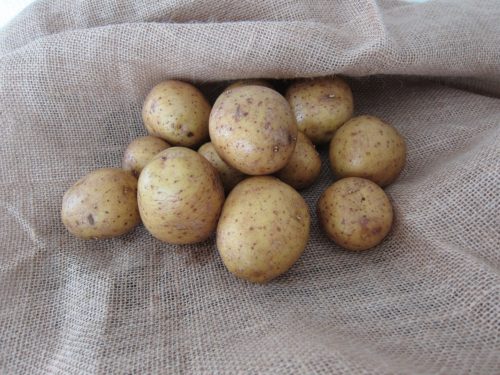
How to Plant Potatoes: Let Dry

Those are the 11 things you should know before planting potatoes at home! I wish you the best of luck and a happy harvest! And make sure you share this post with your other gardening friends.

Not sure where to plant your potatoes? Find out your potato plant’s light requirements in my post How Much Sun do my Plants Need?!

Happy Digging!

Click here to subscribe

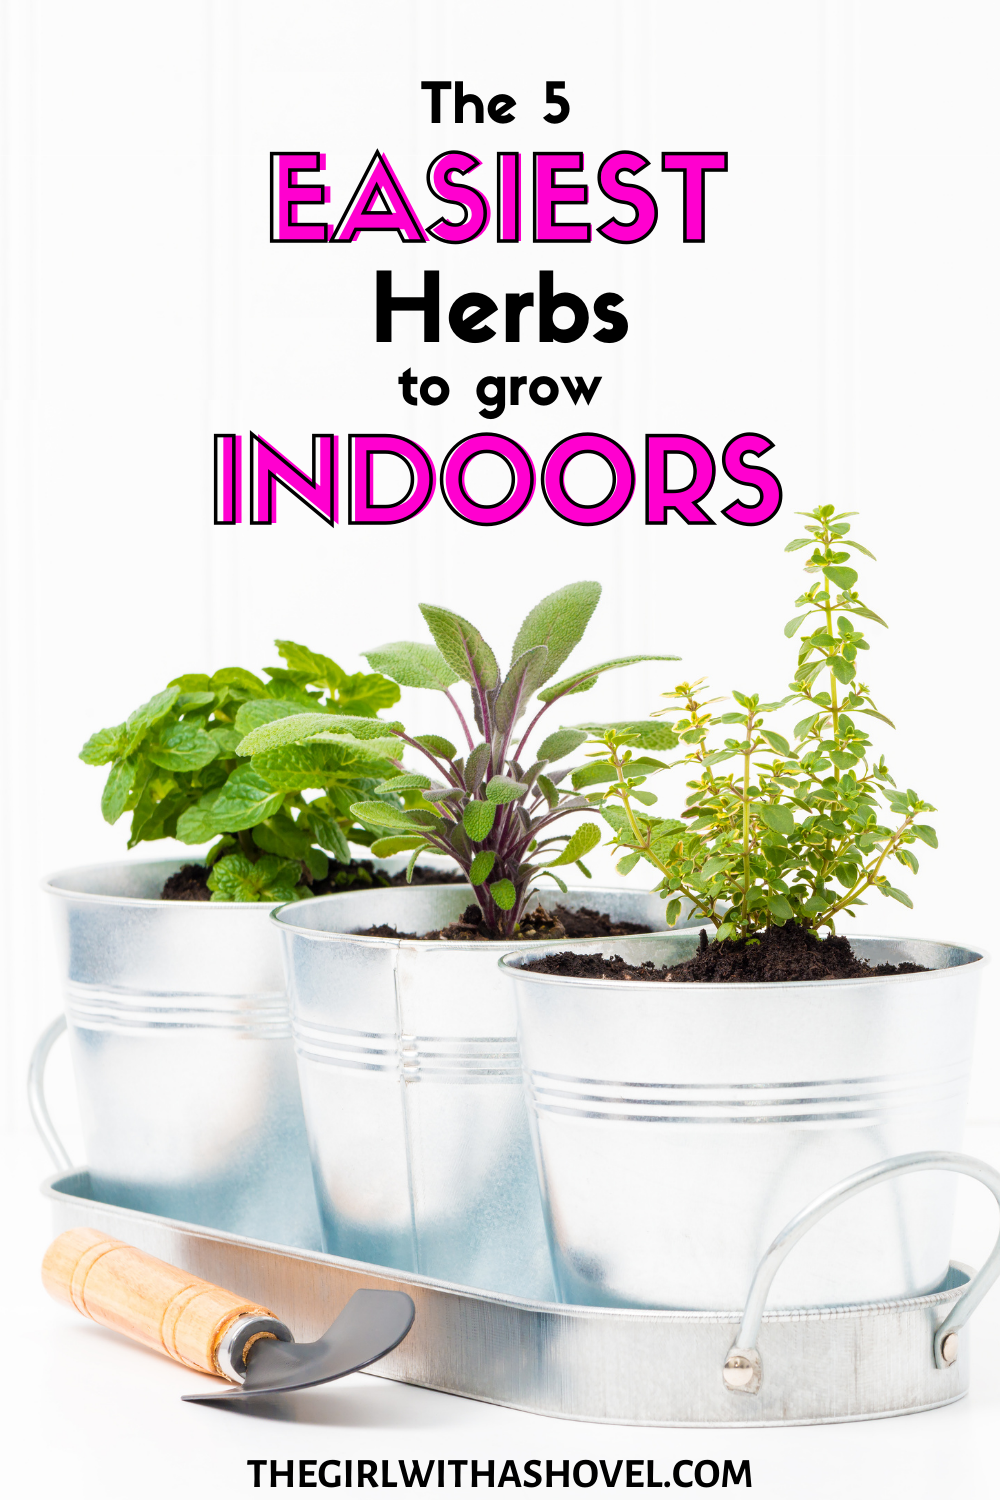
Top 5 Easiest Herbs to Grow Indoors

Ever since I’ve been growing herbs indoors, I’ve noticed that some of my herbs grow lush and beautiful, but some of my herbs have the hardest time indoors. So I did my research to see if it was just me or if others were having problems with specific herbs in their indoor gardens as well. And do you know what I found??? Some herbs consistently do better than others when planted indoors! So if you’re starting an indoor herb garden (or just looking to expand) definitely try out this list of easy-to-grow indoor herbs first! Because everyone deserves to have a big, beautiful, and easy edible garden!!!

Click here to subscribe

Easy Herbs to Grow Indoors #1: Rosemary

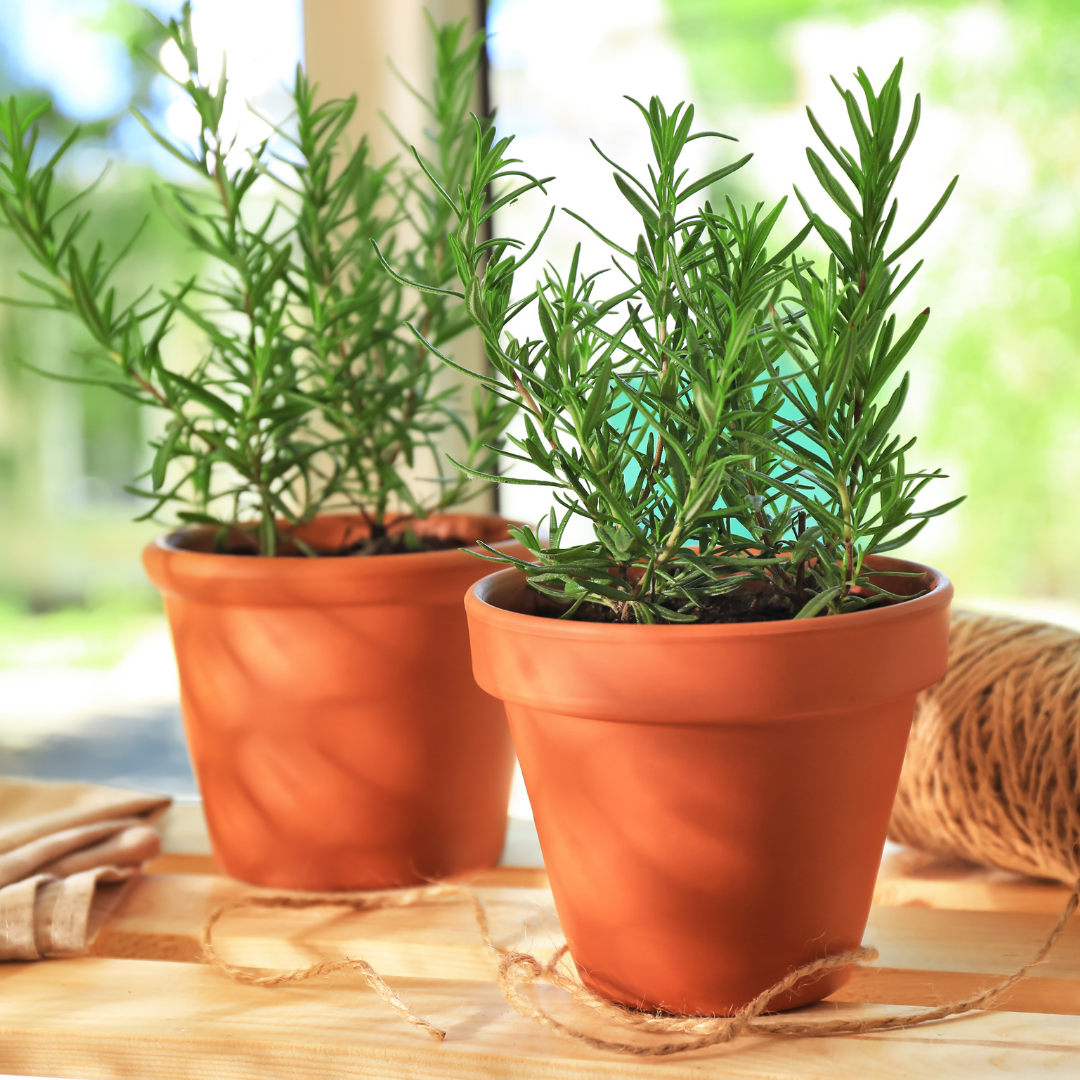
Rosemary is an extremely versatile herb. It is used to create butters, oils, vinegars, and dressings. It can also be used to flavor chicken, pork, or even fish. But my personal favorite way to use rosemary is to cook it into my breads and potatoes! Yum!!!

As an indoor edible, rosemary is extremely easy to grow. The biggest thing to watch for (or the main killer of this plant) is too much water. Especially in the winter when the plant isn’t actively growing. 

For everything you need to know about growing rosemary indoors, check out my post Indoor Rosemary Plant Care!

Easy Herbs to Grow Indoors #2: Oregano

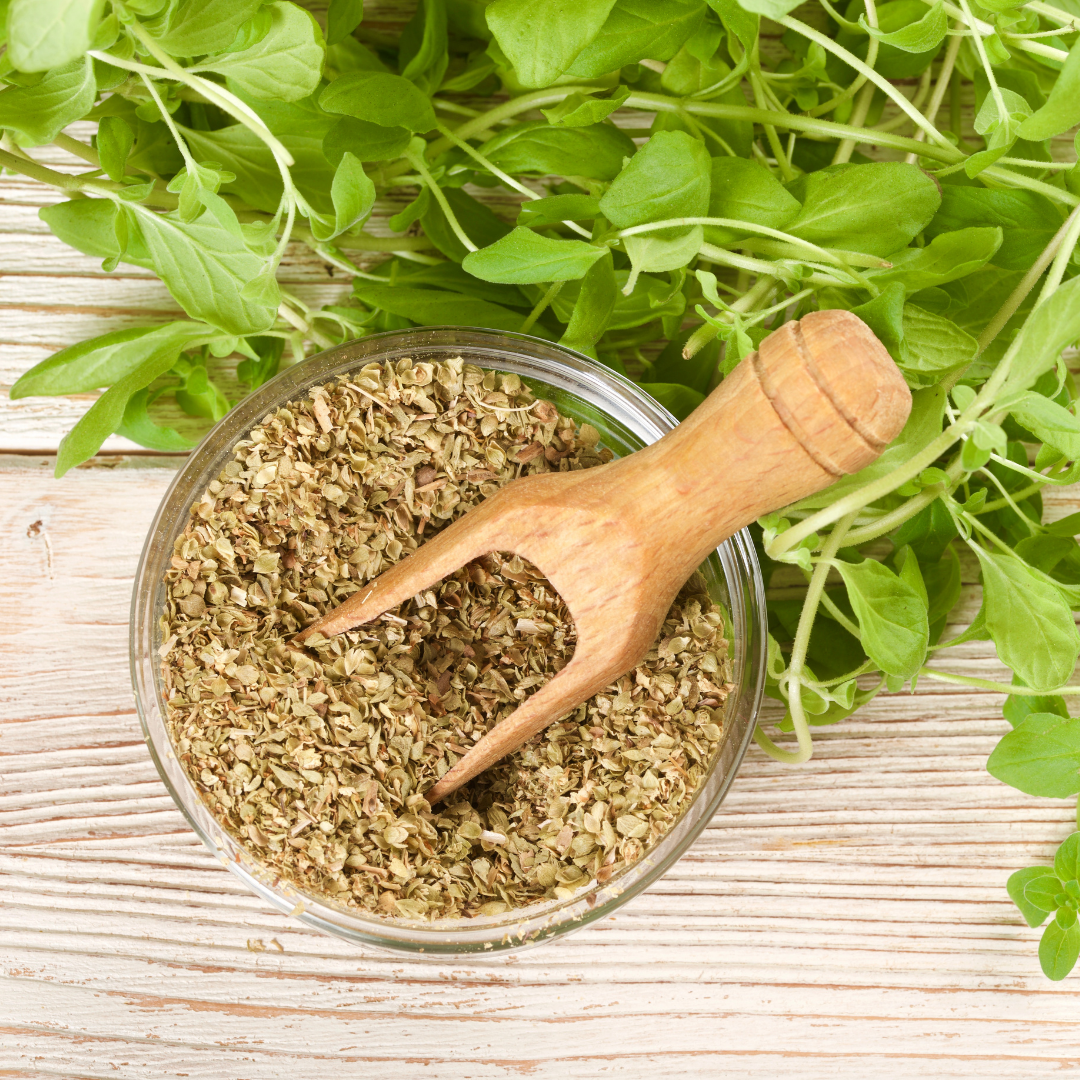
Oregano is a great herb to add into dressings, marinades, and sauces. It adds a homemade Italian taste to almost any pizza or pasta! And what’s the best thing about this herb?! It has a stronger flavor as a fresh herb, than it does when it’s dried. Which means that you can get along with a smaller plant, while still achieving that classic oregano taste!

To grow this herb, it needs to have a lot of sun, and dry out between watering. But don’t put any store-bought plants in your brightest windows ledge right away (unless it is winter-time). Instead, slowly acclimate your plant to warmer temperatures and brighter light by leaving it in the heat for 30 minutes more each day. This will ensure that any greenhouse-grown plant will have the time it needs to adjust!

For more in-depth instructions on how to care for this herb, check out my post, Indoor Oregano Plant Care!

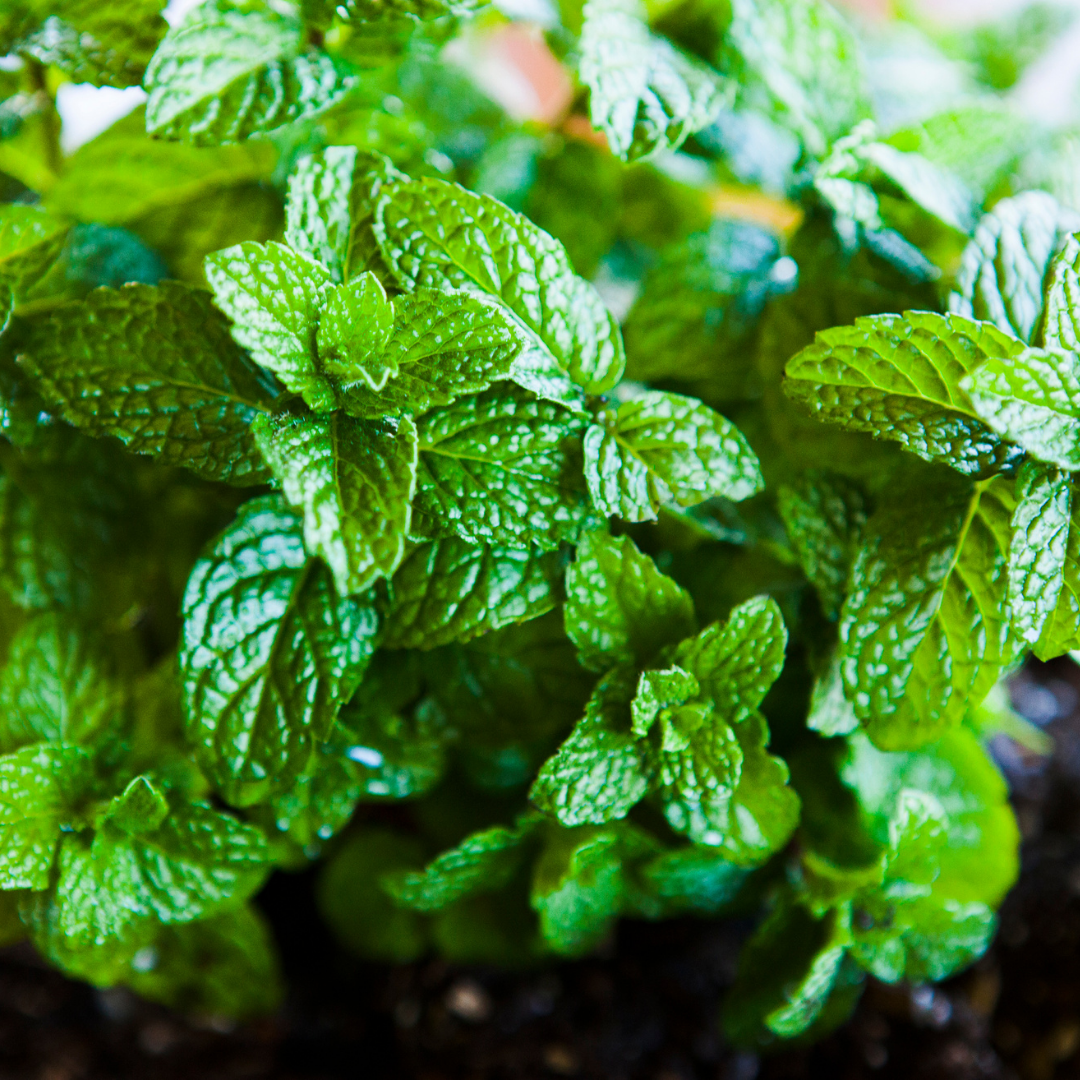
Easy Herbs to Grow Indoors #3: Mint

It’s probably no wonder that mint made it onto my list of easiest herbs to grow indoors. If any of you have planted mint outdoors, you’ll know that this herb grows so well it can start becoming a weed! That’s why growing mint indoors can be a great solution for the lazy gardener who doesn’t want to be pulling mint sprigs out of their lawn!

To grow mint indoors, make sure that it gets plenty of direct sunlight. This, combined with a good vegetable fertilizer will help it to grow those large, minty leaves that everyone loves! Then, if it’s starting to die off, simply take some cuttings and root them in straight water! So simple!

For more information on how to grow your own mint plant indoors, check out my post Indoor Mint Plant Care!

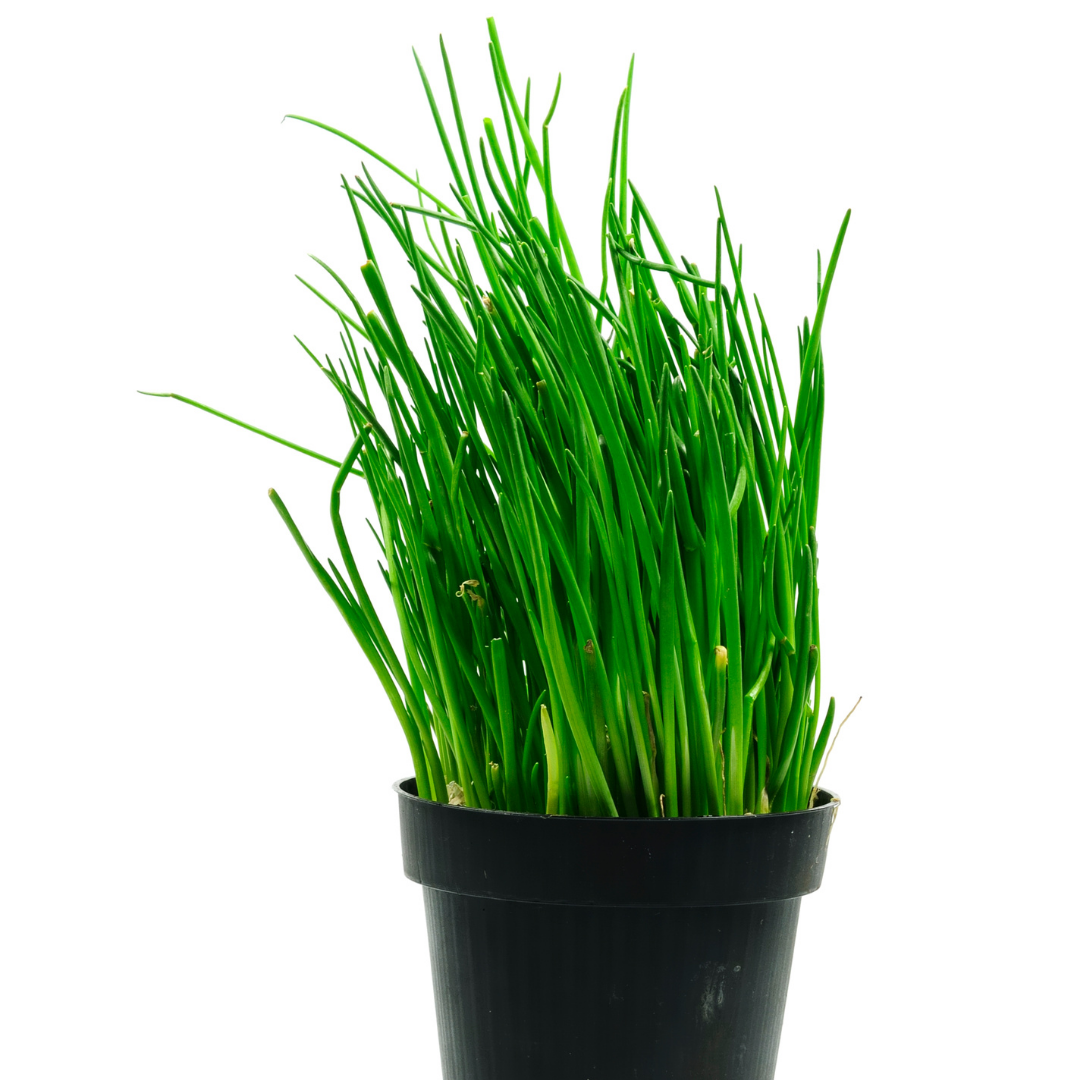
Easy Herbs to Grow Indoors #4: Chives

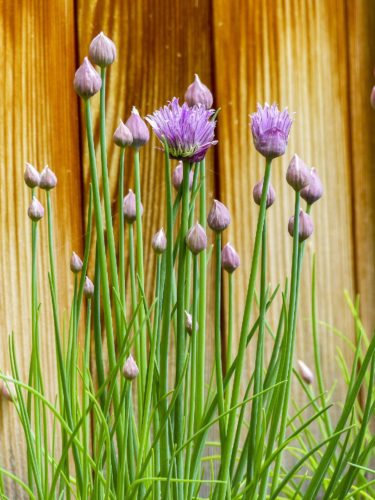
From eggs to potatoes, and soups to salads, chives are my favorite herb to grow indoors! This is not only because it is easy to keep alive and thriving, but also because it can be put  on almost anything!!!

Chives will need a little more  water than these other Mediterranean herbs. But you still need to make sure that you don’t over-water your chives. A good rule of thumb is to make sure that the soil can get lightly dry in between watering. This will help to avoid fungus gnats and root rot, but still keep your chive plant happy!

To learn more about how to grow chives indoors, check out my post Indoor Chive Plant Care!

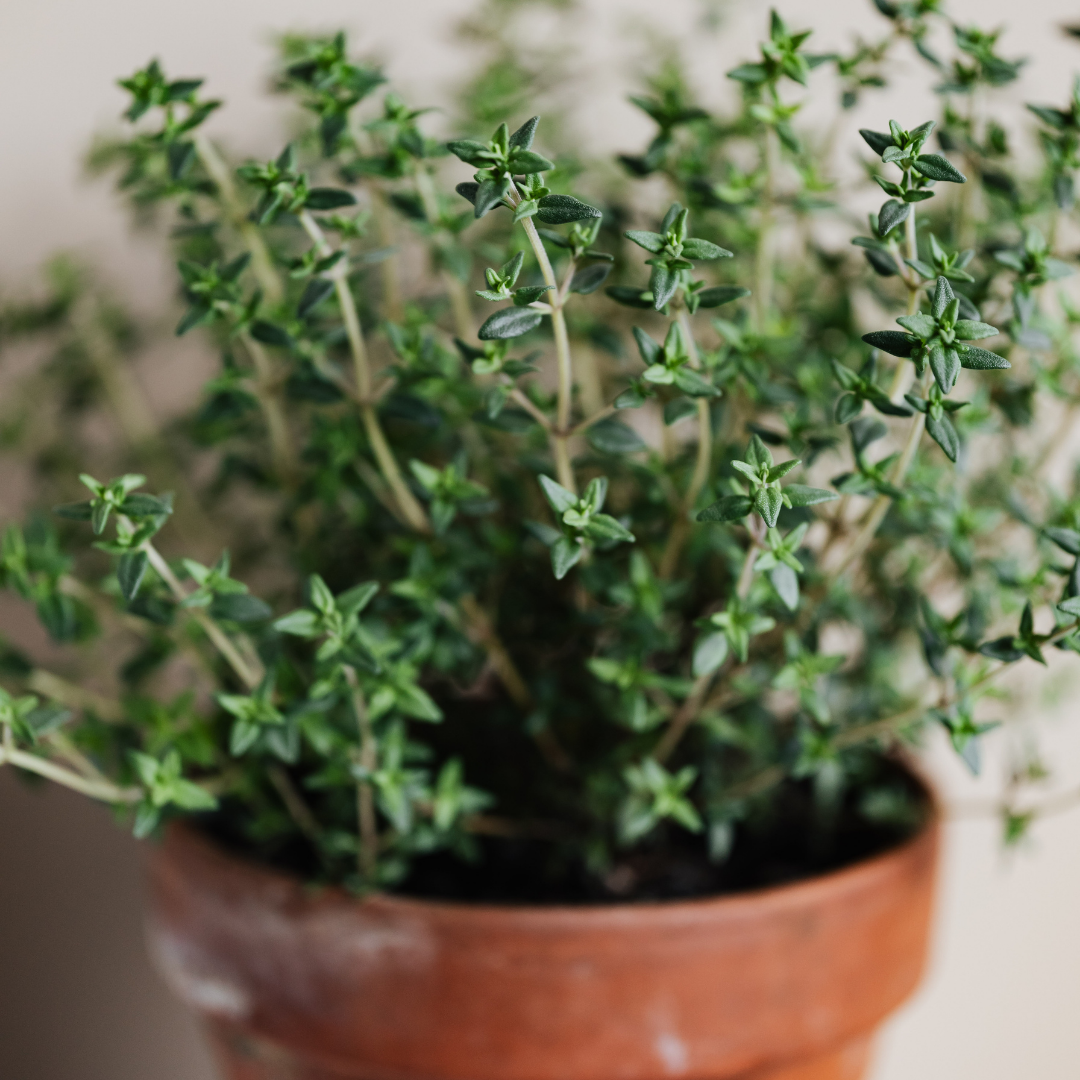
Easy Herbs to Grow Indoors #5: Thyme

Thyme is a great herb to season your soups, sauces, and breads, as well as your chicken, potatoes, and rice. Thyme is also a great source of vitamin C, and has lots of great health benefits!

To grow thyme, the biggest thing you need to watch for is the watering. Thyme doesn’t like to be too wet, especially during the winter when it goes dormant. So make sure that you allow the soil to dry down to the first inch before you water it again.

For more in-depth information on how to grow thyme indoors, check out my post Indoor Thyme Plant Care.

That’s it for my list of the easiest herbs to grow indoors! If you are just starting out in your indoor gardening, then make sure to go easy on yourself by starting with one of these herbs first. Then you can add some of the harder herbs to grow as you master the basics! And if you’re looking for more indoor herb inspiration, check out my post, Top 5 Effortless Indoor Herb Kits!

Happy Digging!

Click here to subscribe

How Much Sun do my Plants Need?

how-much-sun-do-my-plants-need
A Reference Guide for Edible Plants

It is extremely difficult to remember exactly how much sun each of our different plants need. So that’s why I’m providing this awesome resource guide to you! Here’s a list of the most common fruits, vegetables, and herbs along with how much sunlight they each need… so you will never have to ask yourself “How much sun do my plants need?” again!!!

Vegetables – Light Requirements (in hours/day)

Artichoke 6-8 hrs

Arugula 6 hrs

Asian Greens 2-3 hrs

Asparagus 8 hrs

Beans 8-10 hrs

Beets 6 hrs

Broccoli 6 hrs

Brussels Sprouts 6 hrs

Cabbage 6 hrs

Carrot 6-8 hrs

Cauliflower 6 hrs

Celery 6 hrs

Chard, Swiss 8 hrs

Chicory (Radicchio) 4 hrs

Chinese Cabbage 5 hrs

Collards 5 hrs

Corn 6-8 hrs

Cucumber 8-10 hrs

Eggplant 8-10 hrs

Fennel 6-8 hrs

Garlic 6-8 hrs

Kale 6-8 hrs

Leek 4 hrs

Lettuce 8-10 hrs

Melons (Watermelon) 8-10 hrs

Mesclun 2-3 hrs

Okra 6-8 hrs

Onion 3-4 hrs

Parsnip 8 hrs

Peanut 8-10 hrs

Pea 6-8 hrs

Pepper 6-8 hrs

Potato 6-8 hrs

Radish 6 hrs

Rutabaga 6-8 hrs

Spinach 4-5 hrs

Squash, Pumpkins 8-10 hrs

Sweet Potato 6-8 hrs

Tomatillo 8-10 hrs

Tomato 8-10 hrs

Turnip 6-8 hrs

Fruits – Light Requirements (in hours/day)

Apple 6-8 hrs

Apricot 6-8 hrs

Avocado 6-8 hrs

Banana 8-10 hrs

Blackberry 6-8 hrs

Blueberry 4-6 hrs

Cherry 6-8 hrs

Citrus 8-10 hrs

Currant 6-8 hrs

Grape 7 hrs

Guava 8-10 hrs

Kiwifruit 8-10 hrs

Pear 8 hrs

Plum, Prune 8-10 hrs

Pomegranate 8-10 hrs

Raspberry 6-8 hrs

Strawberry 8-10 hrs

Herbs – Light Requirements (in hours/day)

Basil 6-8 hrs

Chives 6-8 hrs

Cilantro/Coriander 6-8 hrs

Dill 6-8 hrs

Lavender 6-8 hrs

Lemon Balm 4-6 hrs

Marjoram 6-8 hrs

Mint 4-6 hrs

Oregano 6 hrs

Parsley 5-6 hrs

Rosemary 6-8 hrs

Sage 6 hrs

Tarragon 6-8 hrs

Thyme 6-8 hrs

I hope you’ve found this reference chart helpful! Let me know in the comments if you have any more questions or if you want sunlight requirements for any other plants that I don’t have listed.

Happy Digging!

Click here to subscribe

Lucky Bamboo Plant Care

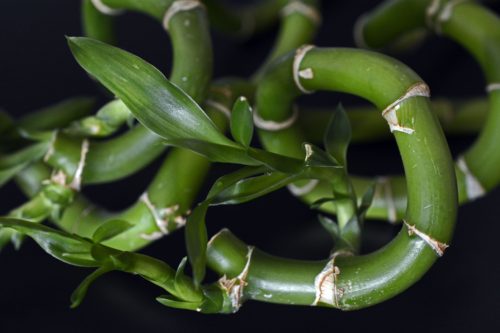
Lucky Bamboo is a common houseplant that is famous for its ability to grow in pure water. But this ability also comes with its own challenges. So here is everything you need to know about lucky bamboo plant care. Let’s keep your plant green, growing, and pest-free!

*Don’t have one of these plants yet? You can buy lucky bamboo plants here!*

**Note: This post contains affiliate links, which if purchased, I will receive a small portion of the profits. This helps me to keep providing awesome information to all of you!**

Click here to subscribe

Lucky Bamboo Plant Care: Light Requirements

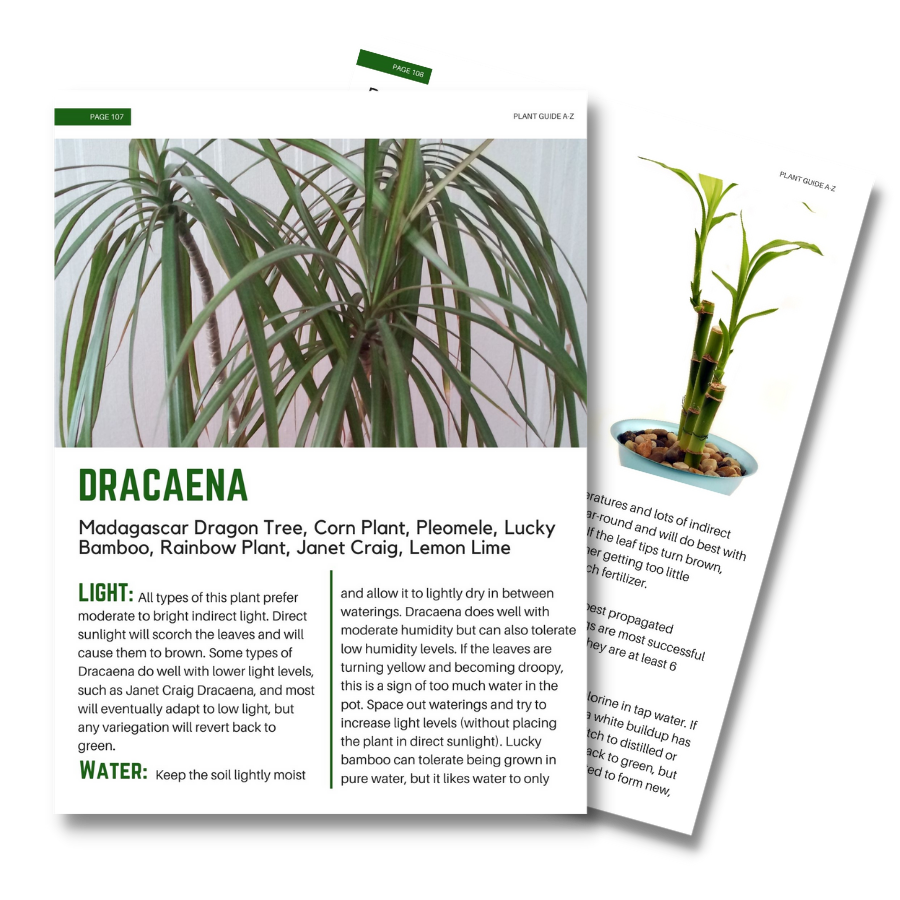
As you might already know, Lucky Bamboo isn’t actually a bamboo plant. Instead, it is actually a Dracaena. Because of this, it needs to be treated like a dracaena, especially when it comes to lighting.

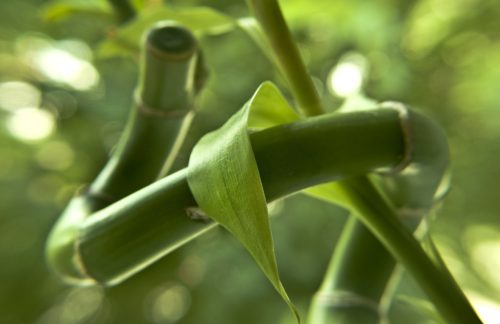
Place your lucky bamboo somewhere it will only get indirect sunlight. Keep it out of direct sunlight. This plant will easily burn if it gets too much direct sunlight. If this happens, the leaf will begin to turn a pale yellow color. These portions can be trimmed off and removed, only make sure that it is safe from getting sunburned in the future. This plant also does well in low light situations but growth will be slower.

Lucky Bamboo Plant Care - Keep your lucky bamboo out of direct sunlight.

Lucky Bamboo Plant Care: Water Requirements

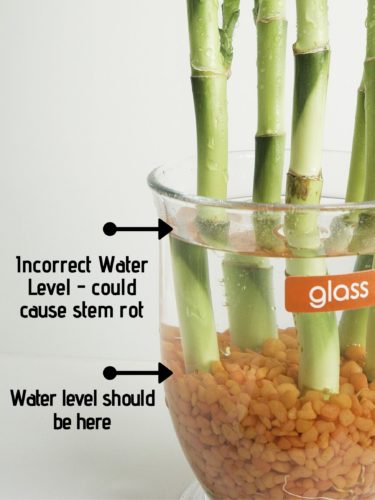
I usually see one of two problems with lucky bamboo watering. First, people buy large, tall vases for their bamboo plant and fill the entire, tall base with water. This can be very bad for your plant. IF the water level is too far above the root system, then it has to potential to cause stem rot. Instead, only water your plant until the roots have about an inch of water covering them.

The second problem that I see is watering with tap water. Dracaenas are particularly susceptible to the chlorine and mineral deposits that are contained in tap water. If the sides of your container has a white, crusty layer, or if the tips of your plant are turning yellow, this is a sign that you’ll need to switch to distilled or bottled water.

Lucky Bamboo Plant Care - Here's how much water you should have in your pot.

Lucky Bamboo Plant Care: Additional Tips

I’ve heard people go back and forth on fertilizer needs of this plant, but I highly recommend it. To fertilize correctly though, purchase special lucky bamboo fertilizer. Then, only fertilize two to three times each summer, starting with a single application in the spring once your plant is starting to produce new growth.

Next, make sure that you are changing out the water in your container. This is very important to do, as algae or bacteria can start growing in your containers and can even cause root rot in your plants. Change out the water every 2 weeks.

If you see any algae or bacterial growth, thoroughly clean your container and any pebbles or rocks you have in it. Then, rinse your plant’s roots well and place it back in the container. Repeat this once a week until no algae or bacteria has been seen for a month, then you can go back to changing out the water every two weeks.

It is also best to fertilize your plant when you add new water so your lucky bamboo will have a week or two to absorb the nutrients before the water is switched out.

Lucky Bamboo Plant Care - Fertilizer and changing out the water will keep your plant healthy and green.

I hope you enjoy carrying for your lucky bamboo plant and that it brings you added prosperity and happiness! Leave any additional comments or questions below!

Happy Digging!

Want More Care Info? Grab the Free PDF!

Get even more detailed information on how to care for this awesome plant!

  • Stop struggling to keep it alive!
  • Stop wondering what it needs!
  • Get info on light, water, soil, fertilizer, propagation, and more with these easy-to-digest pages!

And the best part… it’s free!

How to Care for Christmas Cactus

Care-for-Christmas-Cactus-Cover

A Christmas cactus can be a beautiful and fun houseplant to own! Not only does it add a bit of warmth to the holidays, but if given good treatment, it can bloom every Christmas for up to 30 years! Now that’s one long life for a plant! But to keep our Christmas cactus alive and well for all those years, we need to know how to properly care for our Christmas cactus! So here’s what you need to know…

Don’t have a Christmas cactus yet? You can get one here!

**Note: This post contains affiliate links, which if purchased, I will receive a portion of the profits. This helps me to keep providing awesome information to all of you!**

Click here to subscribe

Care for Christmas Cactus: Light Requirements

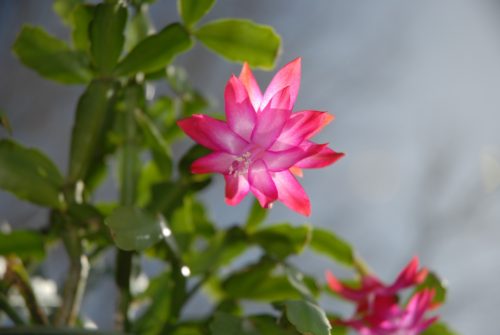
For proper care, we first need to realize that this cactus, a Schlumbergera species, is not like or normal cacti originating from central America to the western United States. Nope… this cactus actually originates from a coastal climate in Brazil. So that being said, it isn’t used to those long hours of hot, direct sunlight. Instead, place it in an east- or west- facing window so that it gets direct sunlight in the mornings or evenings, but it stays protected from any hot, afternoon sunlight.

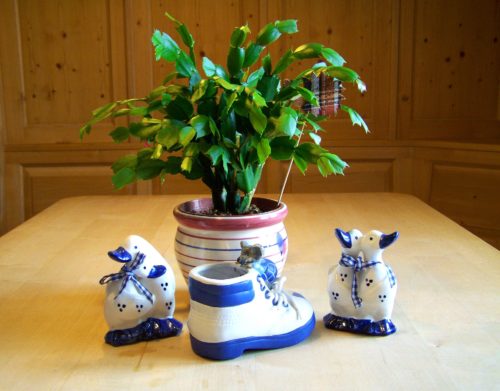
Here's what you need to know to care for christmas cactus... light requirements...

Care for Christmas Cactus: Water Requirements

Being a coastal cactus, this plant needs some interesting watering techniques. First, only water your Christmas cactus when the soil feels dry to the touch (about 2 inches or 5 cm down from the surface). Too much water, and your cactus will start turning yellow and the leaves will get fast and mushy. If this happens, it’s best to take some cuttings from the healthy part of your plant to propagate in case your entire plant dies from being over-watered. Here are the 3 methods you can use for Christmas Cactus Propagation. So basically let’s avoid this by only watering once the soil feels dry to the touch!

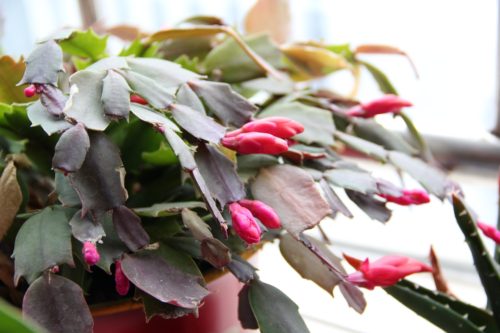
The next tip I have for you is to give your plant higher humidity levels, especially during the time when it had buds on it. If your plant doesn’t get enough humidity, or it is getting either too little water or too much water, it will drop all of its buds. So once your plant’s buds form, lightly mist it every day.

Water requirements for Christmas cactus care...

Care for Christmas Cactus: Additional Tips

As well as misting, once your plant’s buds form, you will also want to be giving it a high-phosphorous plant food once every two weeks. This will help it to stay healthy while it is at it’s most vulnerable. Next, to help with correct watering, it is VITAL that you keep it in a light, well-draining soil, such as in a cactus and succulent potting soil.

Also, as your plant blooms, remove any dead or wilting flowers. This helps it to produce even more flowers as it senses that it’s seeds didn’t fully ripen. It also keeps your Christmas cactus looking fresh and healthy! Then, once your plant has finished blooming, re-pot it into fresh soil, keeping the pot small enough to have the roots just a little cramped. Then just let it sit and enjoy it’s morning or evening sun until the following September when you’ll want to prompt it to start blooming once again!

Here are the additional tips for care for Christmas cactus...

That’s how to care for your Christmas cactus! And once again, for information on how to propagate your plant, check out my post, 3 Easy Ways to Propagate Christmas Cactus! If you enjoyed this post, please share it with your friends! Simply click on your favorite social button and it will let you share this post, no copying and pasting required! I hope you all have a wonderful holiday season and I hope your Christmas cactus stays beautiful all year round!

Happy Digging!

Click here to subscribe

Money Tree Plant Care

Money trees are sold for their beautifully braided trunks, their bonsai shape, or as a good luck charm that bring wealth and prosperity to the space. It’s no wonder this plant appeals to so many different people! But now the question becomes… how do I keep my money tree alive?!?! Because a dead money tree definitely won’t be bringing you any of its good luck charm! So here is what you need to know to properly care for your money tree!

Don’t have one of these awesome plants yet?! You can get one here!

**Note: This post contains affiliate links, which if purchased, I will receive a portion of the profits. This helps me to keep providing awesome information to all of you!**

Click here to subscribe

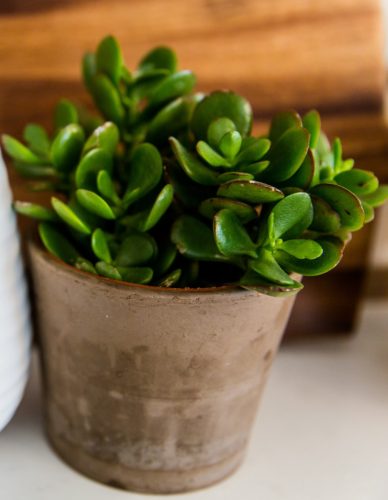
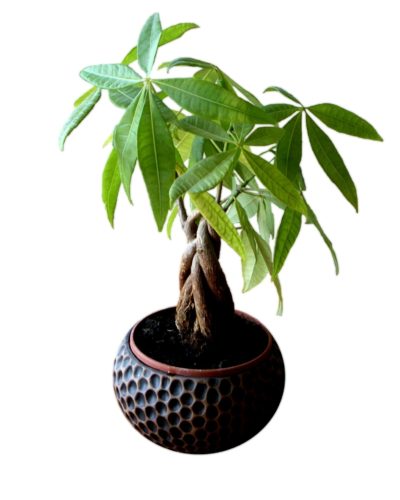
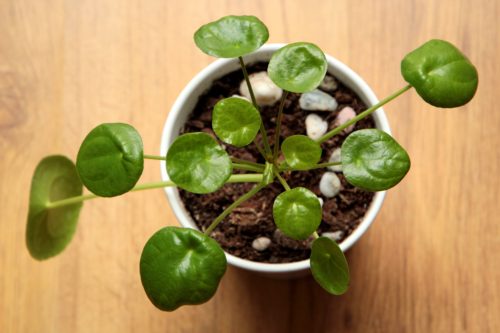
Just to be clear… in this post, we are talking about the money tree, Pachira aquatica. There are two other plants that are commonly referred to as a money tree. These are jade plants, and Chinese money tree plants, or Pilea peperomioides.

Money Tree Plant Care - Jade Plant - Crassula ovata - Do not confuse this plant with the money tree!
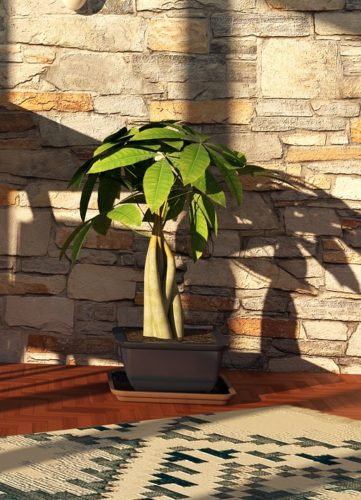
Money Tree Plant Care - Pachira aquatica
Money Tree Plant Care - Chinese Money Plant - Pilea peperomioides - Do not confuse this plant with the money tree!

Money Tree Plant Care: Light Requirements

Money trees are some of the best indoor plants due to the fact that they aren’t very picky when it comes to lighting. Try to give them bright, indirect light, but they will do okay in lower light settings as well, especially during the winter when the plant isn’t actively growing. Just be sure to keep it out of hot, direct sunlight. Money tree leaves are sensitive to direct sunlight and will easily burn. If your leaves are looking pale, white, and wrinkled on the edges, this is a sign of too much sunlight and you should immediately move it to a location with less sunlight.

Money Tree Plant Care Tips #1: Keep your money tree out of direct sunlight. Hot, afternoon sun will burn your plant's leaves!

Money Tree Plant Care: Water Requirements

Money tree is sensitive to root rot. This means that it doesn’t like being wet for too long without having a chance to dry out its roots. So to keep it happy, only water your plant once the top several inches of the soil is dry (more or less depending on how big your pot is). Then water thoroughly. Also make sure that your pot has good drainage to help it to dry out quickly in between waterings. But if your plant is still wet a week after watering, then you’ll need to increase your drainage, as well as add water in smaller amounts.

Money Tree Plant Care Tips #2: Make sure that you water your money tree correctly, as this plant is prone to root rot.

Money Tree Plant Care: Additional Tips

The last thing that I need to address is that money trees NEED high humidity. This can be achieved in several ways. You can either grow it in a group of several other high-humidity plants, spray it often, or purchase and use a humidifier nearby. You can also place it on a tray of pebbles that is filled with water. All of these methods can be used to boost humidity levels. And just like palm trees, if a money tree isn’t getting enough humidity, it’s leaf tips will start to turn brown. This is the plant’s signal that you need to increase the humidity.

Also, if you move your plant (like when you first bring your plant home), it might drop some leaves simply due to the change in environment. Because of this, try not to move your plant once it gets settled. And if you’ve recently moved your plant, then don’t be surprised by a few leaves dropping.

Money tree plant care tips #3: give your plant plenty of humidity and avoid moving it from place to place!

I hope these money tree plant care tips help you to keep your plant alive and healthy for years to come! Feel free to leave any questions or comments below! I love hearing from all of you! And for some plant inspiration, check out my list of easy, low-maintenance plants!

Happy Digging!

Click here to subscribe

Are Poinsettias Poisonous?

Are poinsettias poisonous? The answer is yes and no... Find out exactly how poinsettias can hurt you and what to do to avoid it!

During the winter holiday season, poinsettias can be found EVERYWHERE! This can be stunning in the right settings, but what if your cat starts nibbling them? Or maybe your two year old keeps pulling off the leaves and putting them in her mouth? This begs the question… are poinsettias poisonous??? Should I feel safe having them in my home with my pets and small children?

Well the answer is yes, and no…

**Note: This post contains affiliate links, which if purchased, I will receive a portion of the profits. This helps me to keep providing awesome information to all of you!**

Click here to subscribe

Is It Poisonous?

Eating the leaves of poinsettia plants won’t cause any harm. That being said, if a large amount of leaves are ingested, they can make children and pets mildly sick. However, this is usually not life threatening. But if you’re still worried, you can always call poison control here!

So not really anything to worry about as far as a few little nibbles.

What you Need to Worry About…

BUT the big thing that people NEED to be aware of is LATEX ALLERGIES. This plant’s sap contains latex, which will cause some people to form a rash where they come in contact with the sap.

Are poinsettia plants poisonous? No. They won't kill you, but may cause you to get mildly sick. Unless you have a latex allergy! Find out what to do here!

The things you need to do if you have a latex allergy:

  1. Use gloves any time you touch a poinsettia
  2. Avoid touching your eyes and mouth after handling a poinsettia
  3. Wash your hands thoroughly after handling a poinsettia
  4. Watch for signs of difficulty breathing

Some people are extremely sensitive to latex and can have an allergic reaction just being in close proximity with poinsettias. Always be aware of yourself and others in areas with large concentrations of this plant. Although this reaction is extremely rare, it’s always best to stay informed.

Are poinsettias poisonous? They can cause latex allergies! If you are sensitive to latex, find out what to do to keep yourself safe around these plants!

So the takeaway from all of this is that poinsettias are not poisonous when eaten (aka they will not cause death), but people with latex allergies need to be aware that this plant can cause a reaction. So if this is you, please be careful and always wear gloves! I hope this article has helped, and feel free to leave any further questions or comments below!

Wishing you a safe, and joyful holiday season!

And of course… Happy Digging!

Click here to subscribe

Poinsettia Care for the Entire Christmas Season!

This post is full of Poinsettia Plant Care Tips to help you keep your poinsettia alive and looking beautiful all season long!

Tis the season to decorate the home with tinsel, trees, and poinsettias! But the hard part is that sometimes your poinsettia plant can be hit-or-miss as to if it will actually last until Christmas. But this doesn’t have to be the case! Follow these poinsettia care tips and your poinsettia will not only last the season, it’ll last all year!

Order your poinsettias here and get them delivered straight to your home!

**Note: This post contains affiliate links, which if purchased, I will receive a portion of the profits. This helps me to keep providing awesome information to all of you!**

Click here to subscribe

Poinsettia Care Tip #1: Purchase a healthy plant!

So this all makes sense to people. Of course no one is going to buy the sad, dying plant in the corner. But poinsettias sometimes don’t look sick until they all-of-a-sudden keel over dead! Basically, they’re really good at pretending they’re just fine until the very end… so here’s what you need to do to make sure that your plant is healthy BEFORE you put down the money…

Before you buy!

1. Choose plants that are away from the door

The closer these guys are to the store’s door, the colder they get… and let me say, these guys HATE the cold!!! (They originate in Mexico, so it’s no wonder!) If there is a strip of poinsettias being sold, choose one from the end that is furthest from any cold, drafty doors!

2. Look for healthy flowers

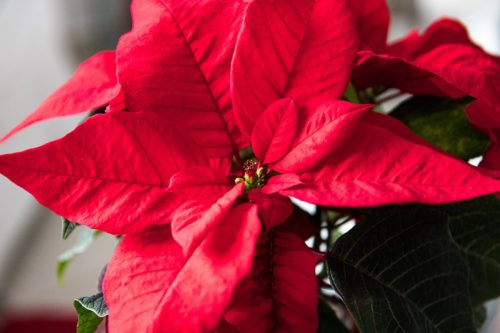
At the center of the poinsettia plant lies the actual flowers. This isn’t the bright red part. These are actually special bracts that this plant produces. (Amazing, right?!?!) Instead, look at the center of the colorful bracts. These flowers should be green or yellow, small, and look healthy. If these are brown or wilted, this can be a sign of cold damage, improper watering, or just overall lack of vitality. So to make sure you have the best plant possible, make sure that these flowers look healthy!

3. Check the soil

Sometimes these department stores have people take care of their poinsettia supply, even though they don’t know anything about plant care. This can cause plants to die shortly after they are purchased. So feel the soil! If it is super dry, or if it is super wet (you push on the soil and a puddle of water forms), then it isn’t in the best place. You can definitely remedy this, but I’d suggest you simply buy your plants somewhere else.

Follow these poinsettia care tips! First, check for healthy flowers to make sure you purchase a healthy poinsettia plant!

Poinsettia Care #2: In Transit

Once you purchas your poinsettia, make sure that it stays warm during your trip home. If you are out shopping with another person, have them pre-heat the car and pick you up at the front of the store. This way your poinsettia has the least amount of shock from the cold as possible.

Another way to protect your plant is to place an extra bag around the top of your plant and try to seal it at the base with your hands. This will trap a small amount of the warm store-temperature air around the poinsettia to give it just a touch more protection as you travel to your car.

Next, as you’d imagine, make sure that you don’t leave your plant in a cold car, and that you bring it indoors (into warmer temperatures) as soon as possible. This will help it to stay as healthy as possible!

Poinsettia Care #3: At Home

Now that you’ve chosen a healthy plant and you’ve painstakingly protected it from the cold, let’s talk about what to do with it at your home! To keep your poinsettia happy, place it in a location where it will start away from cold drafts and where it will possibly get a few hours on sunshine. If you only want it to last through the season then low light is fine, but if you want to keep it longer, make sure it gets a few hours of direct sunlight, or several hours of indirect sunlight each day. Just keep it away from hot, afternoon sunlight as this can scorch the plant’s leaves.

When watering, remember that less is more. Only water it when the top of the soil feels dry. This should be anywhere between once every couple of days (for light watering), or once a week (for large, thorough watering). Just keep feeling the soil each morning that first week to give yourself a good gauge for watering times. Also, make sure to remove the decorative wrapping when watering. This is because it will catch the excess water, causing your plant to get too much water and eventually rot and die. So yeah. Just take it off, let the pot drain into a sink or bathtub for a few minutes, then put it back in! Keep it pretty, but also healthy!

Follow these poinsettia care tips! Keep your poinsettia away from the cold, water lightly, and give it bright, indirect sunlight!

That’s all the poinsettia care instructions I’ve got for you today! For instructions on how to get your poinsettia to bloom for next year, follow these instructions!

Also, to make your holiday season more meaningful, join thousands of people around the globe in the daily December challenge, Light the World! I hope you all have a wonderful Christmas season!

Happy Digging!

Click here to subscribe

The 5 BEST Vegetables to Grow Indoors

Here is a list of the 5 BEST vegetables to grow indoors. Based off of yield, ease, and practicality!

Whether you’re new to indoor gardening or an expert, it’s always good to know which vegetables you should actually be growing indoors, a.k.a. which ones will give you the most bang for your buck! And let me tell you, I’m not just going to list the vegetables that are the easiest to grow indoors. This is because a lot of people suggest vegetables only because they do well indoors. And strange enough, a lot of people suggest growing radishes indoors. Honestly, I don’t remember the last time I’ve actually eaten a radish! So even if I grew radishes in my home, I know that I still would never eat them.

So here’s my list of vegetables that are most commonly consumed, are easy to grow, and that give you good yields per plant. But remember, make sure that you are growing vegetables that you will actually eat. In the long run, it’s your own preferences that matter most when making this decision.

**Note: This post contains affiliate links, which if purchased, I will receive a small portion of the profits. This helps me to keep providing awesome information to all of you!**

Click here to subscribe

The Best Vegetables to Grow Indoors – Vegetable #1: Tomatoes

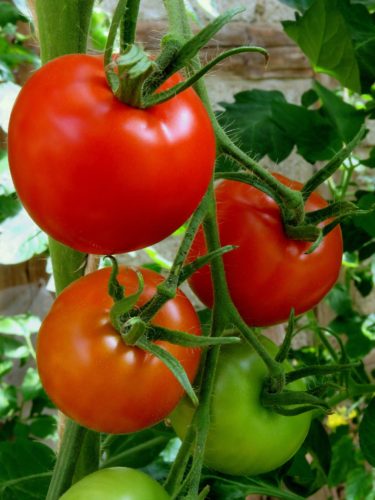
Tomatoes are one of the best vegetables to grow indoors mainly because they are one of the most versatile! You can eat them in salads, on sandwiches, in pastas, or as pastes! Plus, they’re easy to can or freeze for later use. Just make sure to get an ever-bearing variety, as well as give this plant its own plant light. Here’s a plant light review post if you’re unsure of what to get. It might take your tomato plant a while to start producing indoors, but once it does, you’ll be glad you waited!

These are the top 5 BEST vegetables to grow indoors. Just starting out? Choose to grow tomatoes for an ultra versatile crop!

Vegetable #2: Lettuce

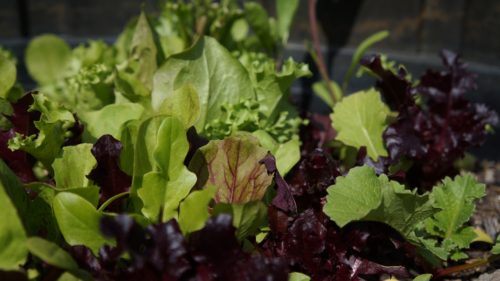
Here is another plant that is highly eaten and enjoyed! Lettuce is also one of the easiest plants to grow from scraps! Simply purchase your lettuce of choice, cut off the bottom, and place it in water. Leave it in a cup with toothpicks placed in it to hold the top of the plant out of the water. Then fill the cup with enough water to allow the bottom to be submerged. Start one every time you bring a new head of lettuce home. After a couple of months you should have your endless supply of lettuce!

These are the top 5 BEST vegetables to grow indoors. Just starting out? Grow lettuce from the scraps you're already buying!

Vegetable #3: Green Beans

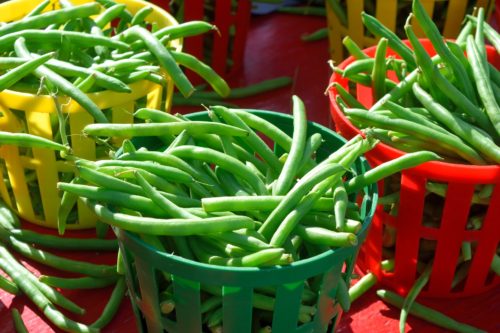
Beans are one of the easiest vegetables to grow indoors mainly because they require less sunlight than most other vegetables, as well as they can use less space by growing vertically! Here are some ideas for how you can create your own vertical gardens! Another reason why green beans makes by top 5 list is because it’s difficult to eat fresh green beans all year long when they start costing over $4/pound during the winter! It’s much more cost effective to simply grow your own and enjoy them whenever you want! Just keep a constant planting schedule every few weeks and you’ll never run out!

These are the top 5 BEST vegetables to grow indoors. Just starting out? Choose to grow green beans for a small-space crop that you can grow year round!

Vegetable #4: Spinach

If you’re a health nerd (like my husband), or a foodie (like me!) then you’ll definitely want to start a row of spinach. Like these other vegetables, it is also one of the easiest to grow indoors. Then, if it’s growing a bit faster than you can eat it, spinach can easily be frozen, or added to sauces, entrees, or appetizers on the fly!

These are the top 5 BEST vegetables to grow indoors. Just starting out? Grow spinach for an easy to grow choice!

Vegetable #5: Peppers

Although peppers take a bit longer to grow, and will also need a plant light, they are definitely a popular plant to grow indoors. This is because they are not only super versatile and can be added to many dishes, but you can also custom grow your peppers according to your temperature preferences! Whether you prefer bell peppers, jalapenos, ghost peppers, or chili peppers, the method of growing is all the same. So wow your friends with your home-grown pepper collection, and spice up your life! Just make sure that you keep them in a big enough pot, and they’ll reward you with large peppers!

These are the top 5 BEST vegetables to grow indoors. Just starting out? Grow peppers to get your spicy fix.

These are my recommendations for the best vegetables to grow indoors. For more information on growing plants indoors, be sure to sign up for my email list and enjoy a free welcome gift! Then let me know in the comments below if you’ve tried growing any of these plants, and let me know how it goes! I love hearing from all of you!

*Note: For sun requirements of any of these plants, check out my free reference guide at How Much Sun Does my Plant Need?!

Happy Digging!
Click here to subscribe

Indoor Chive Plant Care

Growing chives indoors can be fun, easy, and tasty! The bright green, grassy look of this herb also makes it easy to decorate with! So now let’s talk about indoor chives plant care… cause you want to keep your plant healthy in order to keep your spice options open!

Don’t have a chive plant? Get one here!

**Note: This post contains affiliate links, which if purchased, I will receive a portion of the profits. This helps me to keep providing awesome information to all of you!**

Click here to subscribe

Indoor Chive Plant Care: Light Requirements

Chives like direct sunlight and can tolerate about 6 hours of direct sunlight each day. However, if your windowsill is full of other sun-loving herbs, this is your first herb to move away from the perfect spot. It does well with down to 4 hours of direct sunlight and also does well with artificial lighting. Just make sure that if it’s bending towards the light, that you consistently rotate your pot.

Indoor Chive Plant Care: Water Requirements

Chives like a little bit more water than most of your other Mediterranean drought-tolerant herbs. So make sure to water it slightly more than your other herbs. Also, make sure that you don’t over-water your plant. If the soil is spongy because it is so wet (the day after you water), then you should dry out the soil and try to add either more drainage to the pot, or a lighter soil (or both!).

indoor chive plant care

Indoor Chive Plant Care: Additional Requirements

Make sure that when you are harvesting your chives that you leave at least 2 inches (5 cm) at the bottom of the plant untouched. Also, if the tips of your plant is turning yellow, this is a sign of too little water and too little humidity. If you feel that you are watering it enough (you aren’t letting the soil fully dry out in between watering), then try misting your plant a few times a week. Or you can place it on a tray of pebbles and add a layer of water to the tray. This will naturally boost the humidity as the water in the tray evaporates in the sun.

I hope these indoor chive tips help! I personally love my chives and have had an easier time growing these than all my other herbs! So have fun, and enjoy this awesome herb! Then, for information on how to start chives from seed, check out this post, How to Star Chives from Seed! Or, for more information about simple indoor herb gardens, check out my post on 5 Effortless Indoor Herb Garden Kits! And as always, please leave any comments or questions below! I look forward to hearing your experiences!

Happy Digging!
Click here to subscribe