Green plants are always pretty, but sometimes we need to add a pop of color to complement our design scheme, or just to have fun! Either way, these colorful indoor plants will definitely add what you need. So grab what you need today!
**Note: This post contains affiliate links, which if purchased, I will receive a portion of the profits at no extra cost to you. This helps me to keep providing you with this awesome information!**

Colorful Indoor Plants #1: Gold Dust Plant –Codiaeum variegatum
Gold dust plant adds a splash of yellow through its seemingly paint-splattered leaves. To keep the yellow from fading, place it in moderate to bright, indirect light.
Buy a Gold Dust Plant!
Colorful Indoor Plants #2: Fancy-leaf Begonia – Begonia spp.
Fancy-leaf begonia is definitely a show-stopper! This plant has varieties available in any color of the rainbow. It also comes in many different leaf shapes as well, from stars to swirls! Whether you want silver-pink star-shaped leaves, or purple-red swirls, this plant is the way to go!
Buy a Fancy-leaf Begonia!
Colorful Indoor Plants #3: Angel wings – Caladium spp.
Caladiums can also be found in a wide range of patterns and colors. Though they mostly stay in the pink, red, and purple shades, their vibrant colors are just what you need to make your color scheme pop!
Buy a Caladium!
Colorful Indoor Plants #4: Succulents!
Succulents (cacti included) are perfect for adding a small touch of color on bookshelves, side tables, or as centerpieces. Combine a collection of colorful succulents to really make a statement! For care information, check out my post Succulent Plant Care!
Buy Succulents!
Colorful Indoor Plants #5: Croton – Codiaeum variegatum
If you’re looking for lots of color, then get a Croton! This plant can have red, orange, purple, green, and yellow all on the same plant! It definitely gives you plenty to choose from when looking at a color palette!
Buy a Croton!
Colorful Indoor Plants #6: Nerve Plant – Fittonia spp.
Nerve plant is a personal favorite! Its leaves can be green with either red, pink, yellow, purple, or white veins! For the brightest contrast, choose a variety with red veins. Or you can simply choose whichever of these awesome patterns makes you say “wow!”
Buy a Nerve Plant!
Colorful Indoor Plants #7: Ti Plant – Cordyline fruticosa
The Ti plant will not only add color to your space, but it will also add a modern, tropical look! With its tall, thick stems and bright, long leaves, the Ti plant is perfect for any modern, colorful space!
Buy a Ti Plant!
Colorful Indoor Plants #8: Prayer Plant – Maranta leuconeura
Prayer plant’s leaves are touched with color that can be used as either a contrasting, secondary tone, or to add another touch of the primary color scheme. One advantage that Prayer plant has is its ability to grow well in a hanging basket. These beautiful, striped leaves will grow to cascade down the sides of the pot. This plant adds a unique, sophisticated style.
Buy a Prayer Plant!
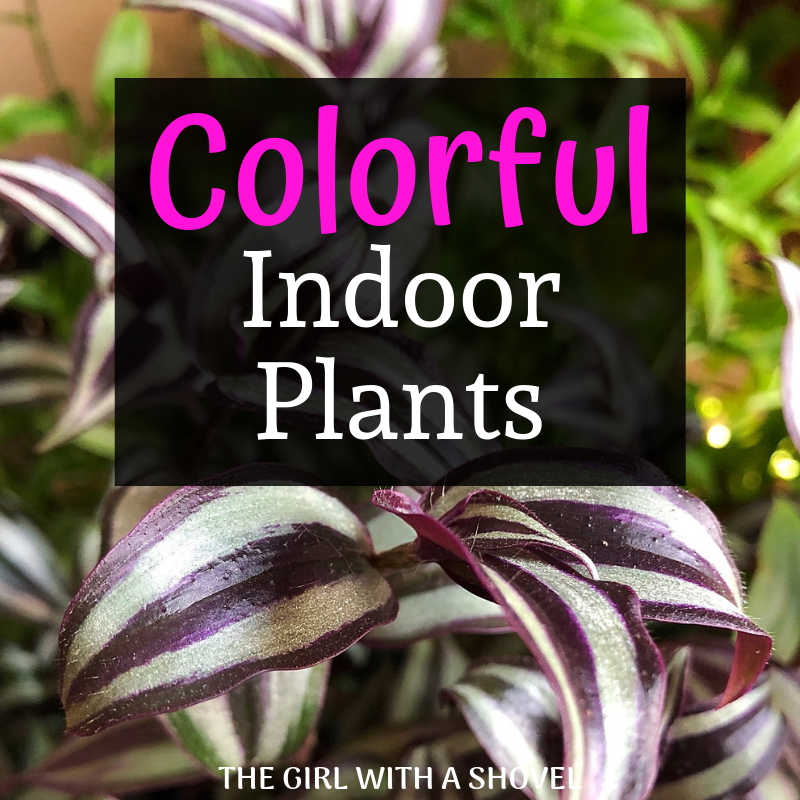
Colorful Indoor Plants #9 – Wandering Jew – Tradescantia pallida or Tradescantia zebrina
Wandering Jew is another personal favorite! There are two main varieties of this plant: the zebrina Wandering Jew, with purple and silver stripes, or the pallida Wandering Jew, with its pure purple foliage and delicate, pink flowers. Pick your favorite and add some purple to your space!
Buy a Wandering Jew Plant!
Colorful Indoor Plants #10: Purple Shamrock – Oxalis triangularis
This is another purple plant that can be grown either indoor or out! With soft, triangular leaves, Purple Shamrock does well as either a background foliage plant, or as a colorful centerpiece! Whatever its use, Purple Shamrock is sure to bring a whole lot of color to your design!
Buy a Purple Shamrock Plant!
That’s it for my list of colorful houseplants! I hope you enjoy matching a few of these to your interior green space! With any questions or comments, or to talk about your own personal favorite, please leave a comment below. And for more awesome plant tips, join my email group! Not only will you receive weekly tips and tricks to keep your plants alive, but you will also receive a free welcome guide when you sign up!
Happy Digging!


")
")


")