Overwatered. The one word that every succulent owner comes to know and fear at least once during their plant journey. But don’t worry. An overwatered succulent is on the path to dying, but by immediately doing these three steps, you might be able to preserve at least a part of your beloved plant! So here are the three things you need to do as soon as you notice that your succulent has been overwatered.
*Note: For those of you who want to watch all of the steps, here is my video where I go through exactly what you need to do to save your over-watered succulents!*
Step #1: Prepare the Roots
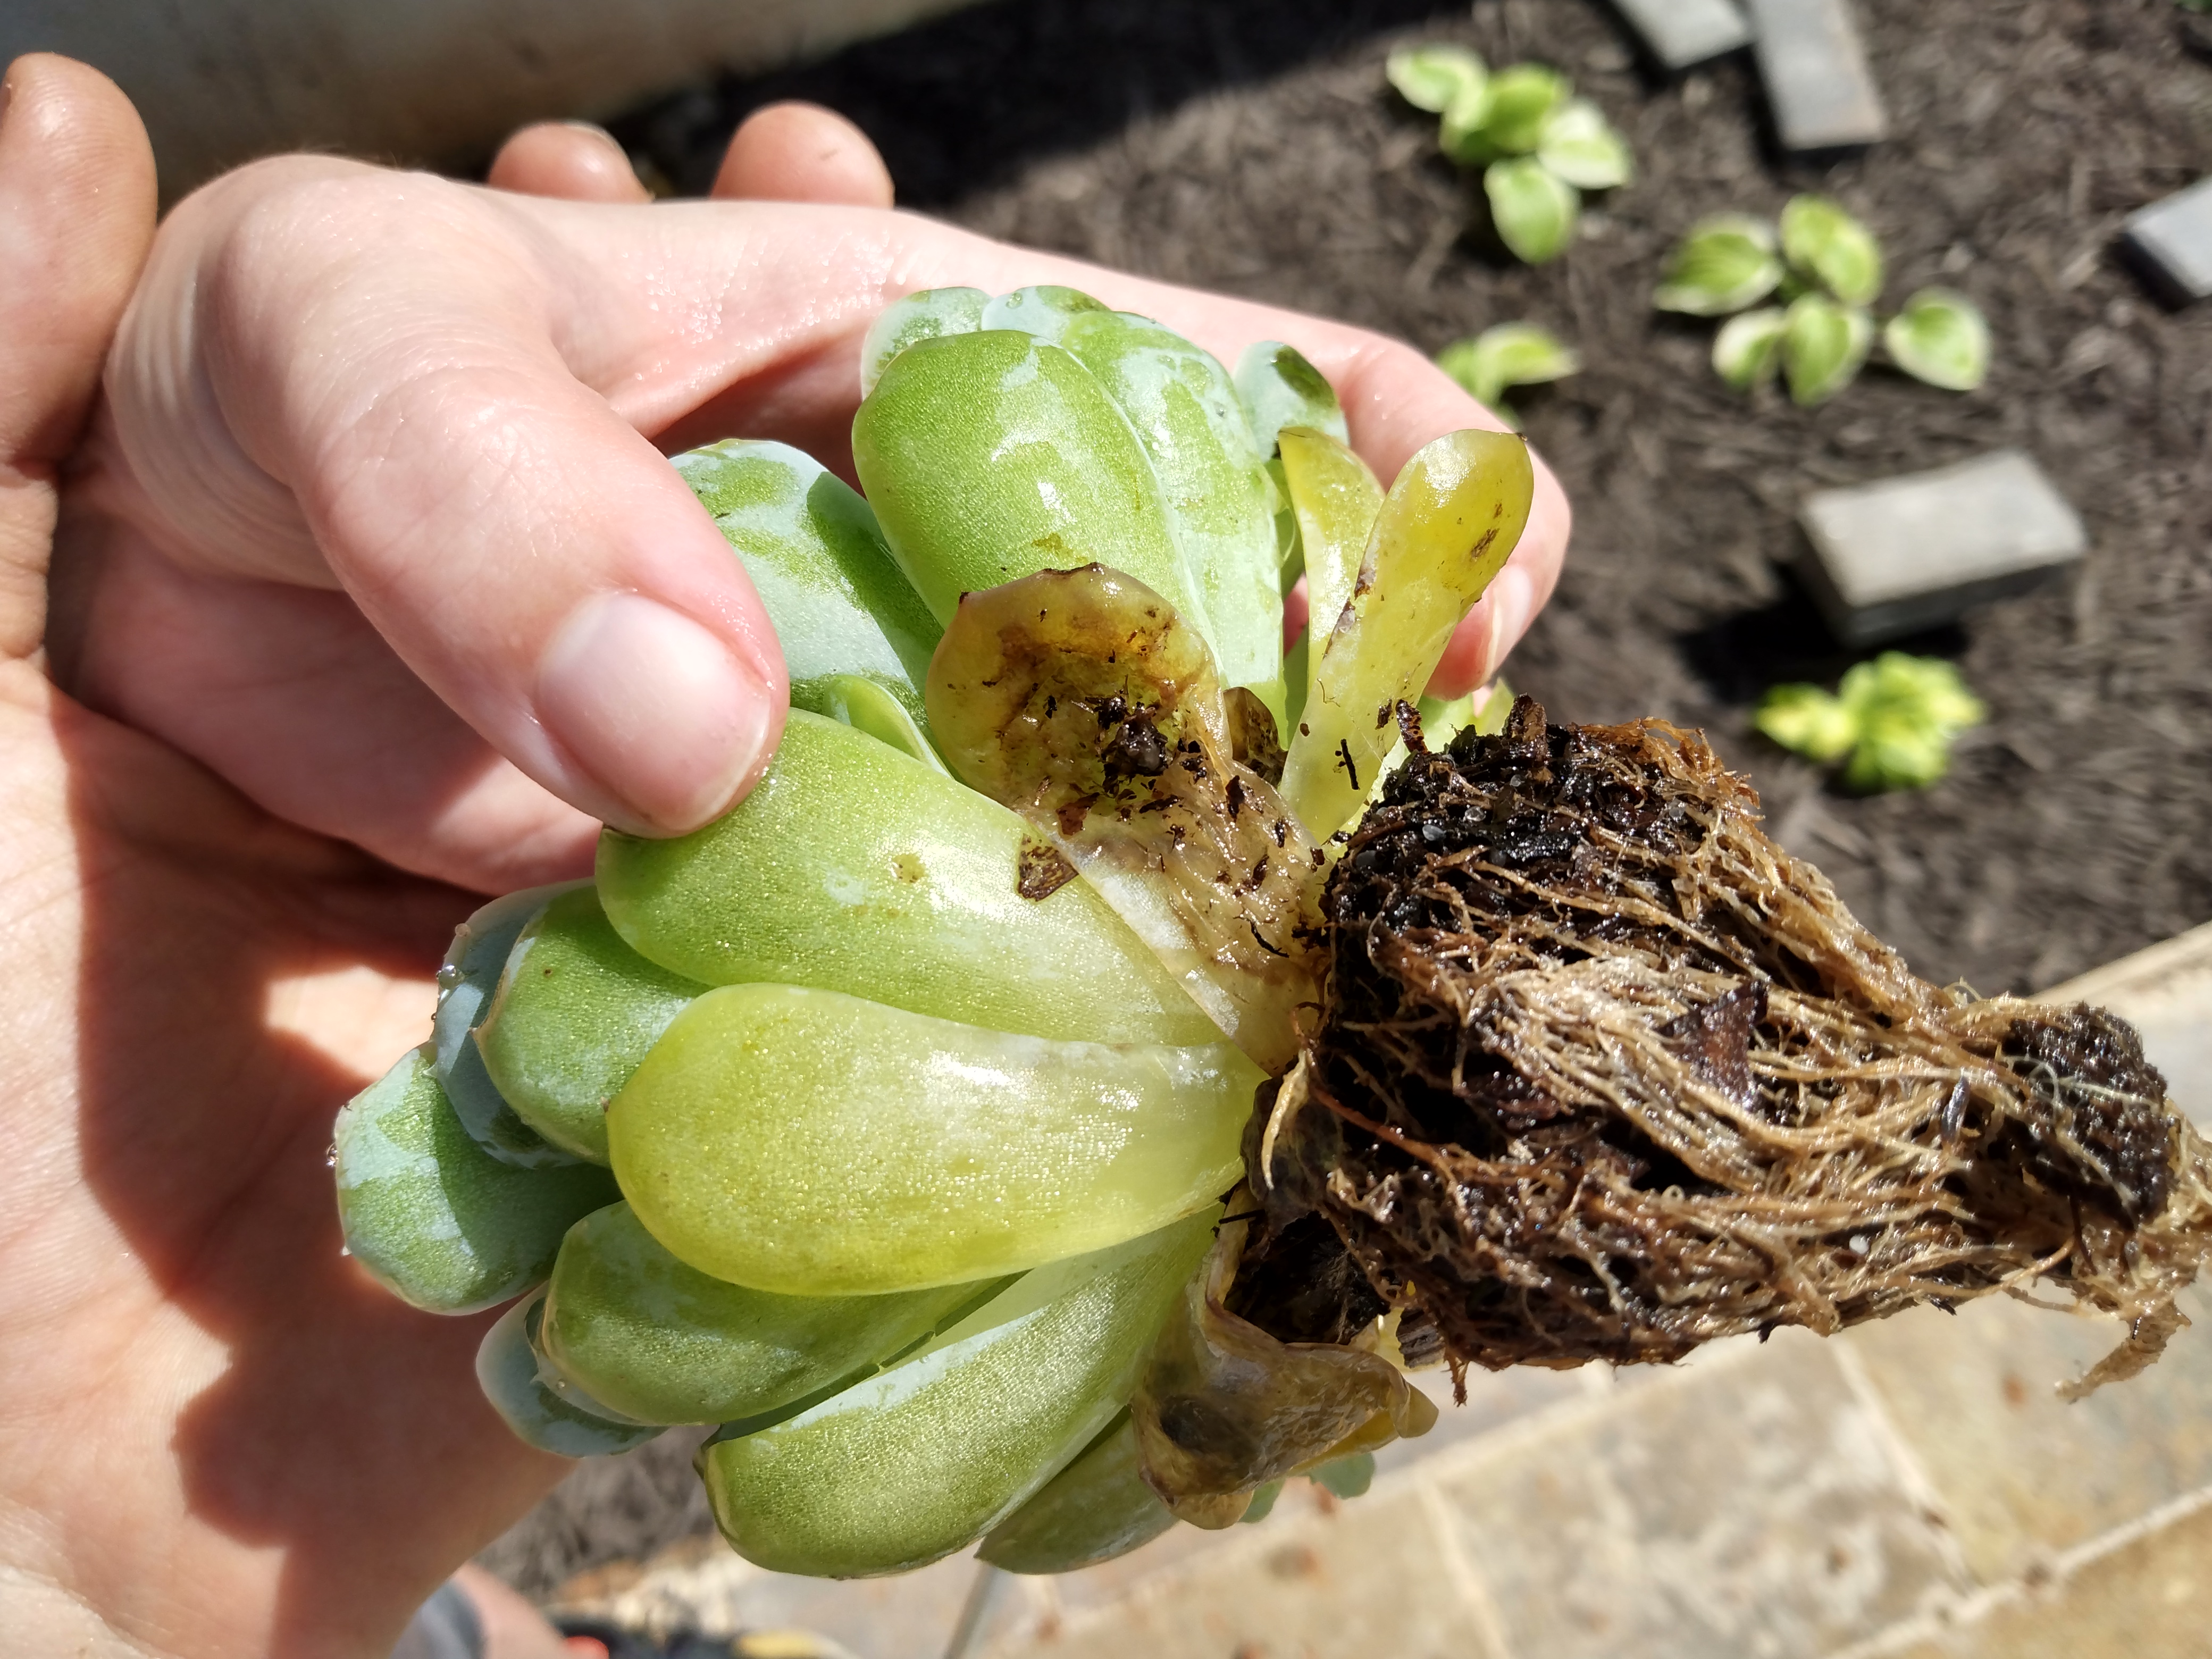
Take your succulent out of its current pot and remove as much of the soil as possible from its roots. This can be done by holding your succulent above a bowl or a tray and gently massage the root system to allow the soil to fall into the tray. If your soil is very wet, then you might have to support some of the roots to keep the wet soil from ripping the roots off when it falls.
Another way to gently remove soil from the roots is to use water to wash off the soil. This is best done outdoors with a hose to avoid getting soil down an indoor drain system.

Depending on how much root rot has occurred, some of you might still have a root system to work with, while others of you might not have any root system left. This is seen when the stem of the plant is mushy and separates from the root system easily. However, if you do have a root system remaining, then let any roots lightly air dry in a warm location for about 20 minutes to an hour. Make sure that this succulent (and its roots!) stay out of direct sunlight!
Step #2: Remove Dead Portions
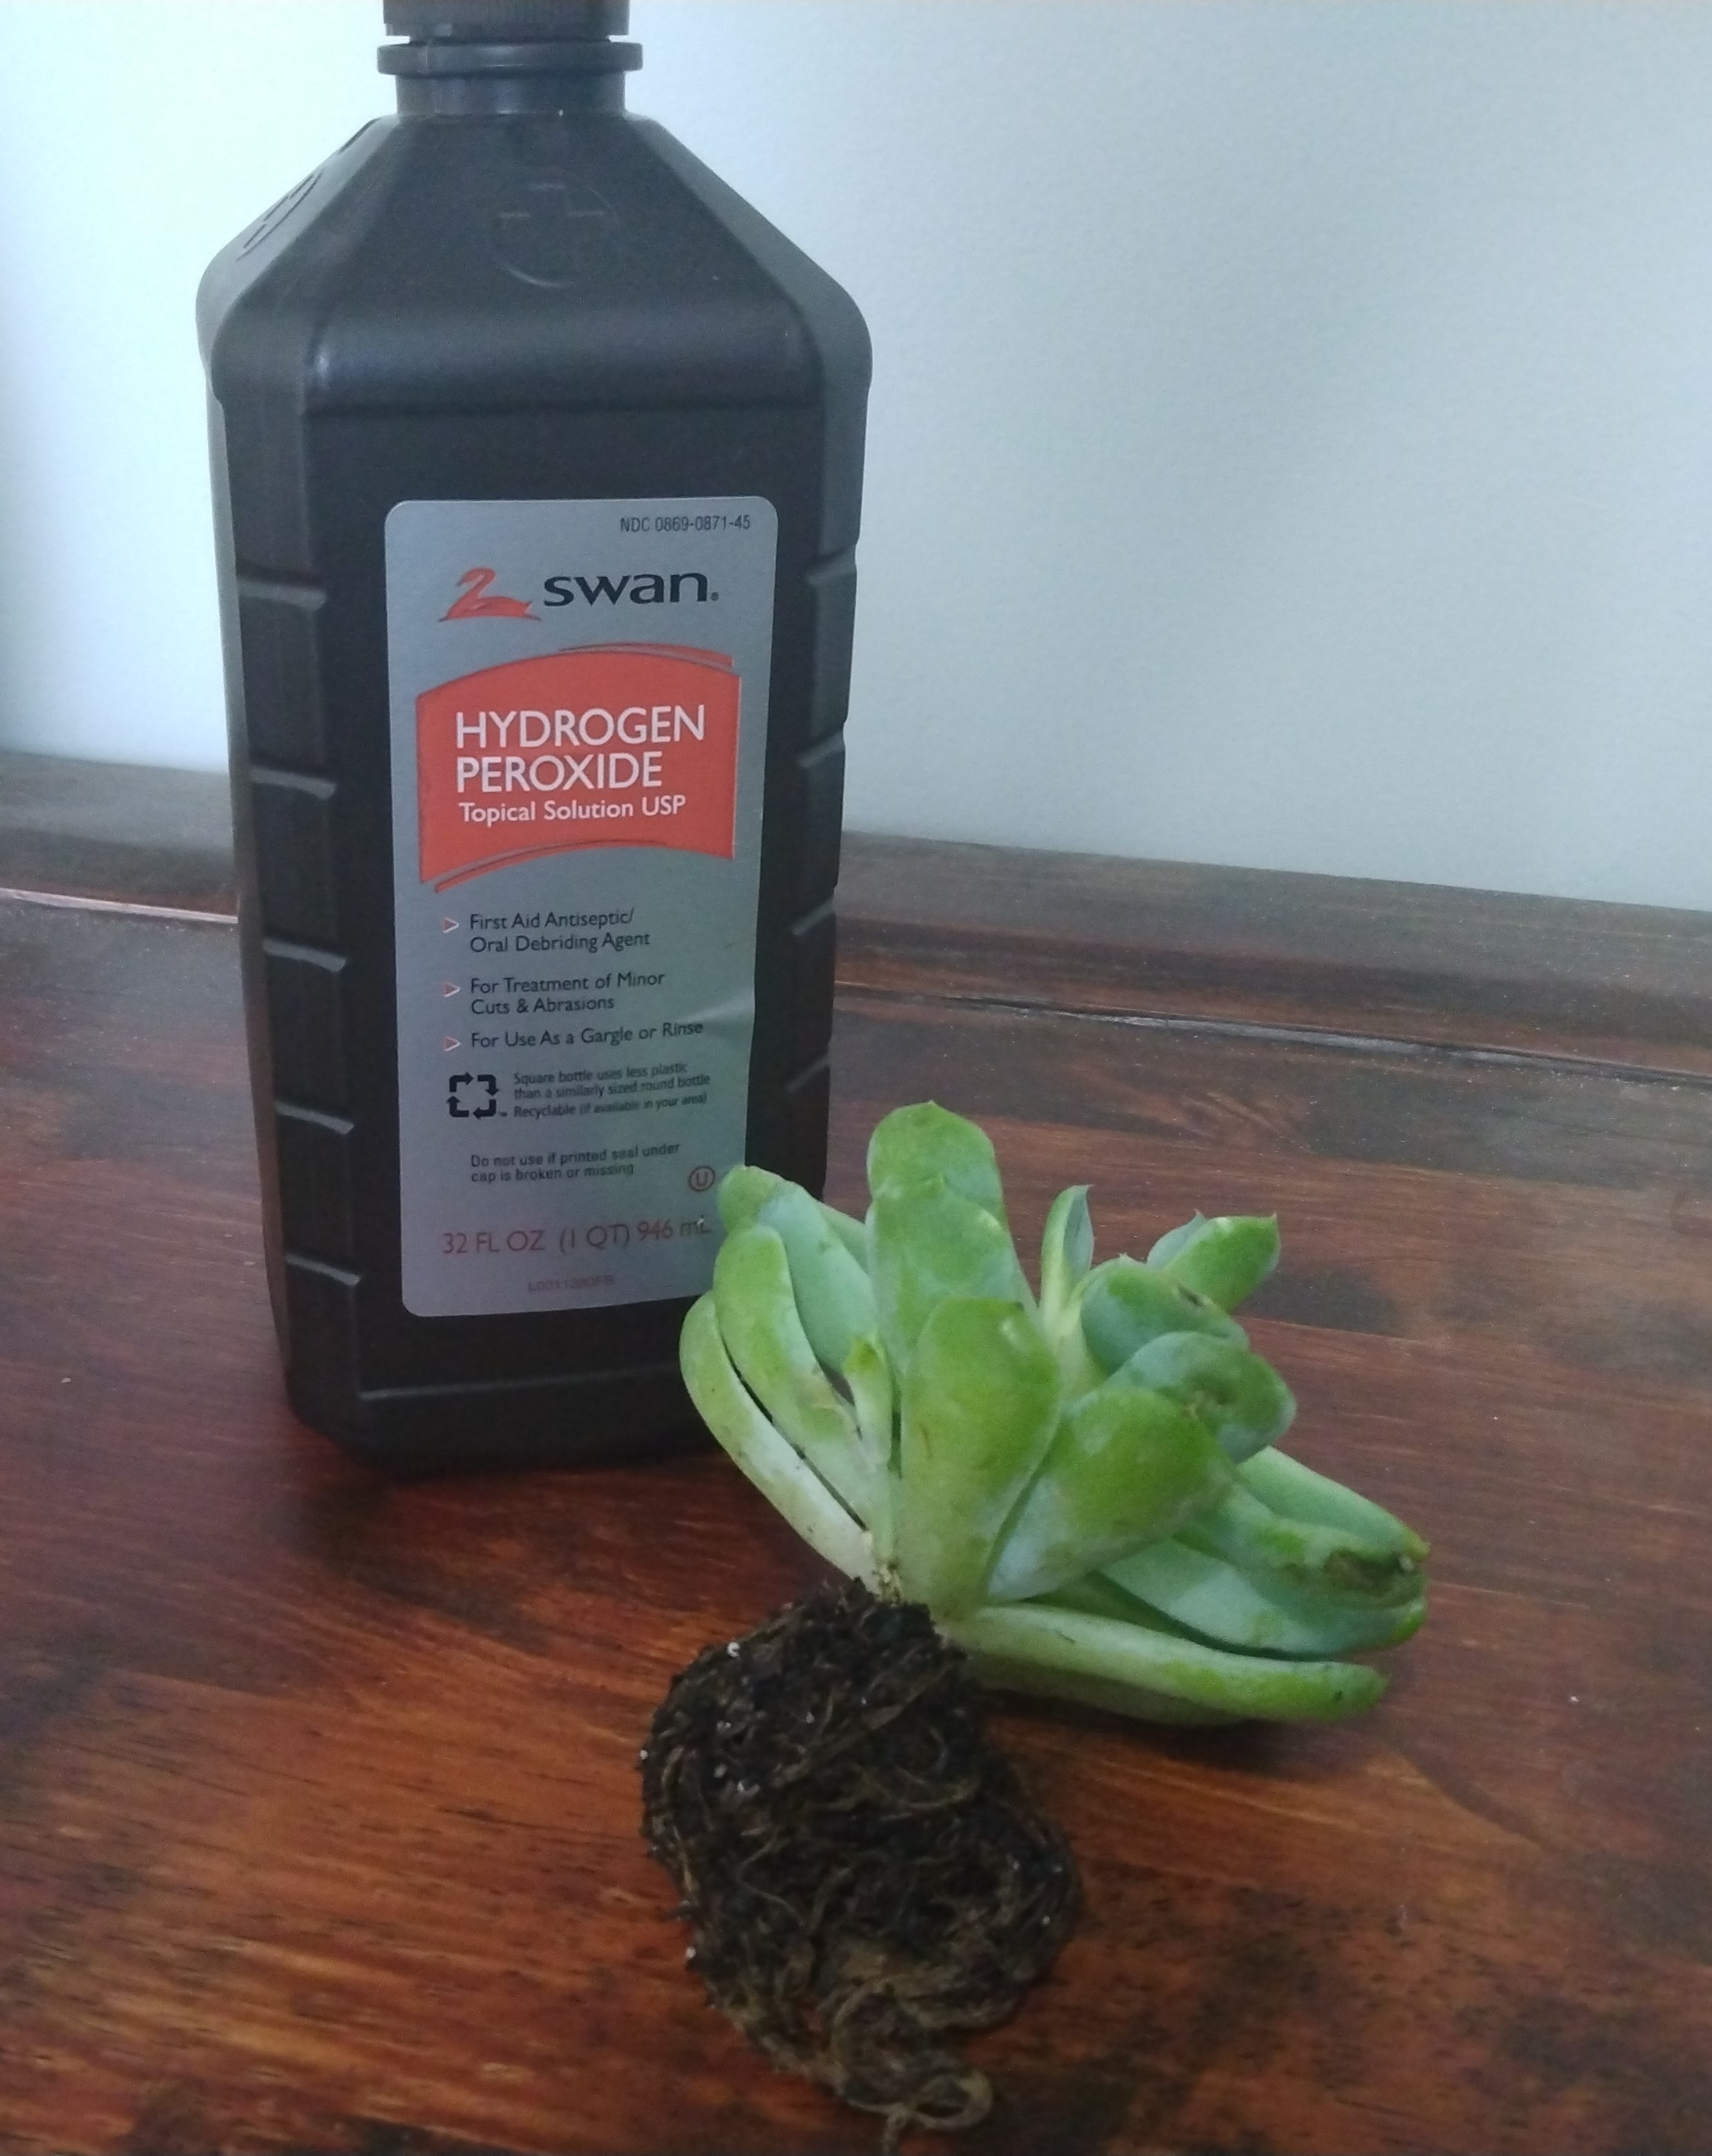
If you have a root system that is still attached to your plant, then simply trim off and remove any black or mushy roots. Then pour hydrogen peroxide over the roots that remain. The hydrogen peroxide will help kill any bacteria rot in the roots!

If you don’t have a root system left, then assess the stem of your succulent. Trim off any portion of the stem that is discolored. This should leave you with only a top portion of the plant remaining. If the majority of the stem is discolored, try to take off a few of the best-looking leaves to prepare for the third and final step. Try to take leaves from the top of the plant as these are always the last to become affected by overwatering. Just keep in mind that you will want to try to choose any fully-formed leaves as leaves that are just starting to grow from the top won’t be as easy to propagate.
Step #3: Repot or Propagate
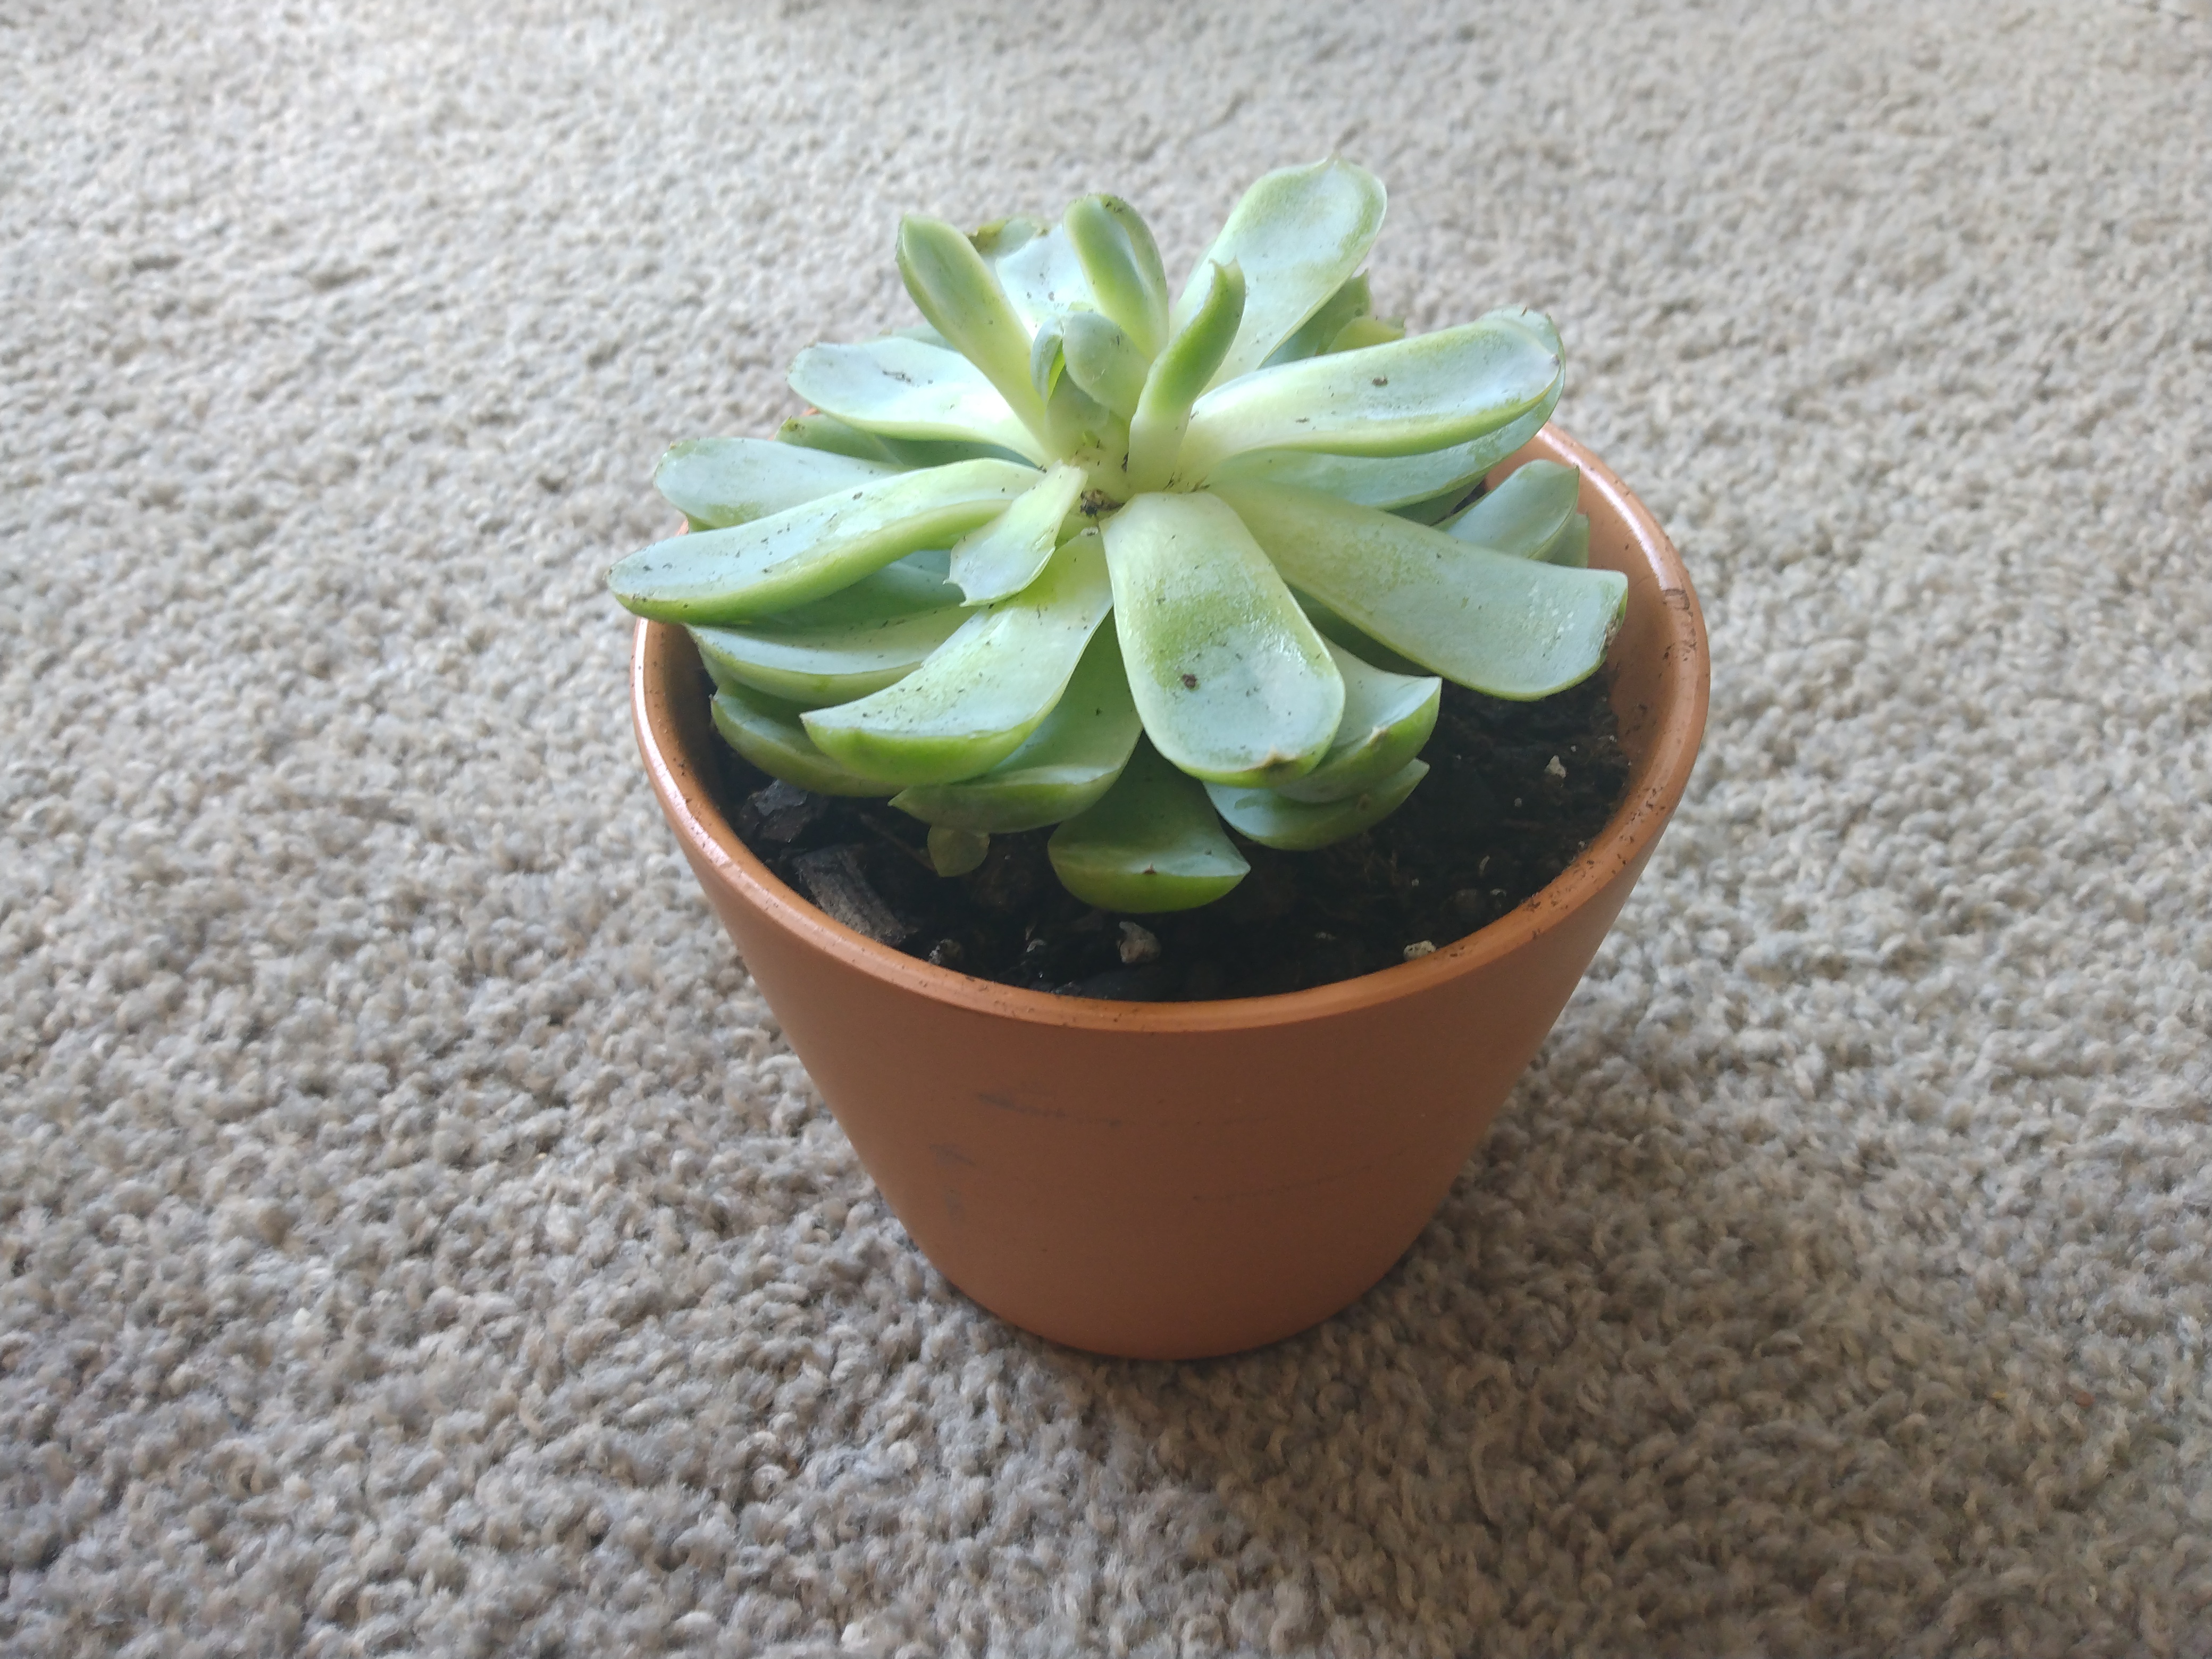
If your root system is still intact, then let it lightly dry out before repotting. When placing it back into soil, you will want to correct any issues that were causing it to be overwatered. Three things that you can adjust is to either repot your succulent into a smaller pot, repot it into a pot with better drainage (either switch to a clay pot, a pot with larger drainage holes, or both!), or repot it using a lighter soil (such as a cactus and succulent mix, or a perlite mix).
For those of you who only have a stem or leaves left, then you will need to start by drying your cuttings out for a few days (1-2 days away from direct sunlight). Then propagate them by using the instructions found in my post How to Propagate Succulents.
Another great tool to help you avoid overwatering in the future is to use a soil moisture meter. I have personally never overwatered a single plant since purchasing this soil moisture meter! It really is a game-changer!

Well I hope that this process goes well for you and your succulent. It can be a very delicate process as you save your succulent from being overwatered. I hope that this 3-step process has helped you to have success. And once again, be sure to buy a soil moisture meter to prevent this from ever happening again!
Please leave any additional comments or questions below and sign up for my email list to receive even more tips and tricks to help keep your houseplants alive!
Happy Digging!

